Build and save a view
This is the back-office playbook for building a list exactly the way you want it and saving it to reuse. You'll open a list page, shape it with filters, grouping, and columns, save it as a new view, then switch to it or share it. It's written for anyone working in Offload on a computer.
New to the feature? See Saved Views for what it is and Who can see a view for the visibility tiers. This playbook assumes Saved Views is enabled for your organization.
Open a list page
Start on the page you want a view of.
- 1
Go to Loads, Projects, or Permits
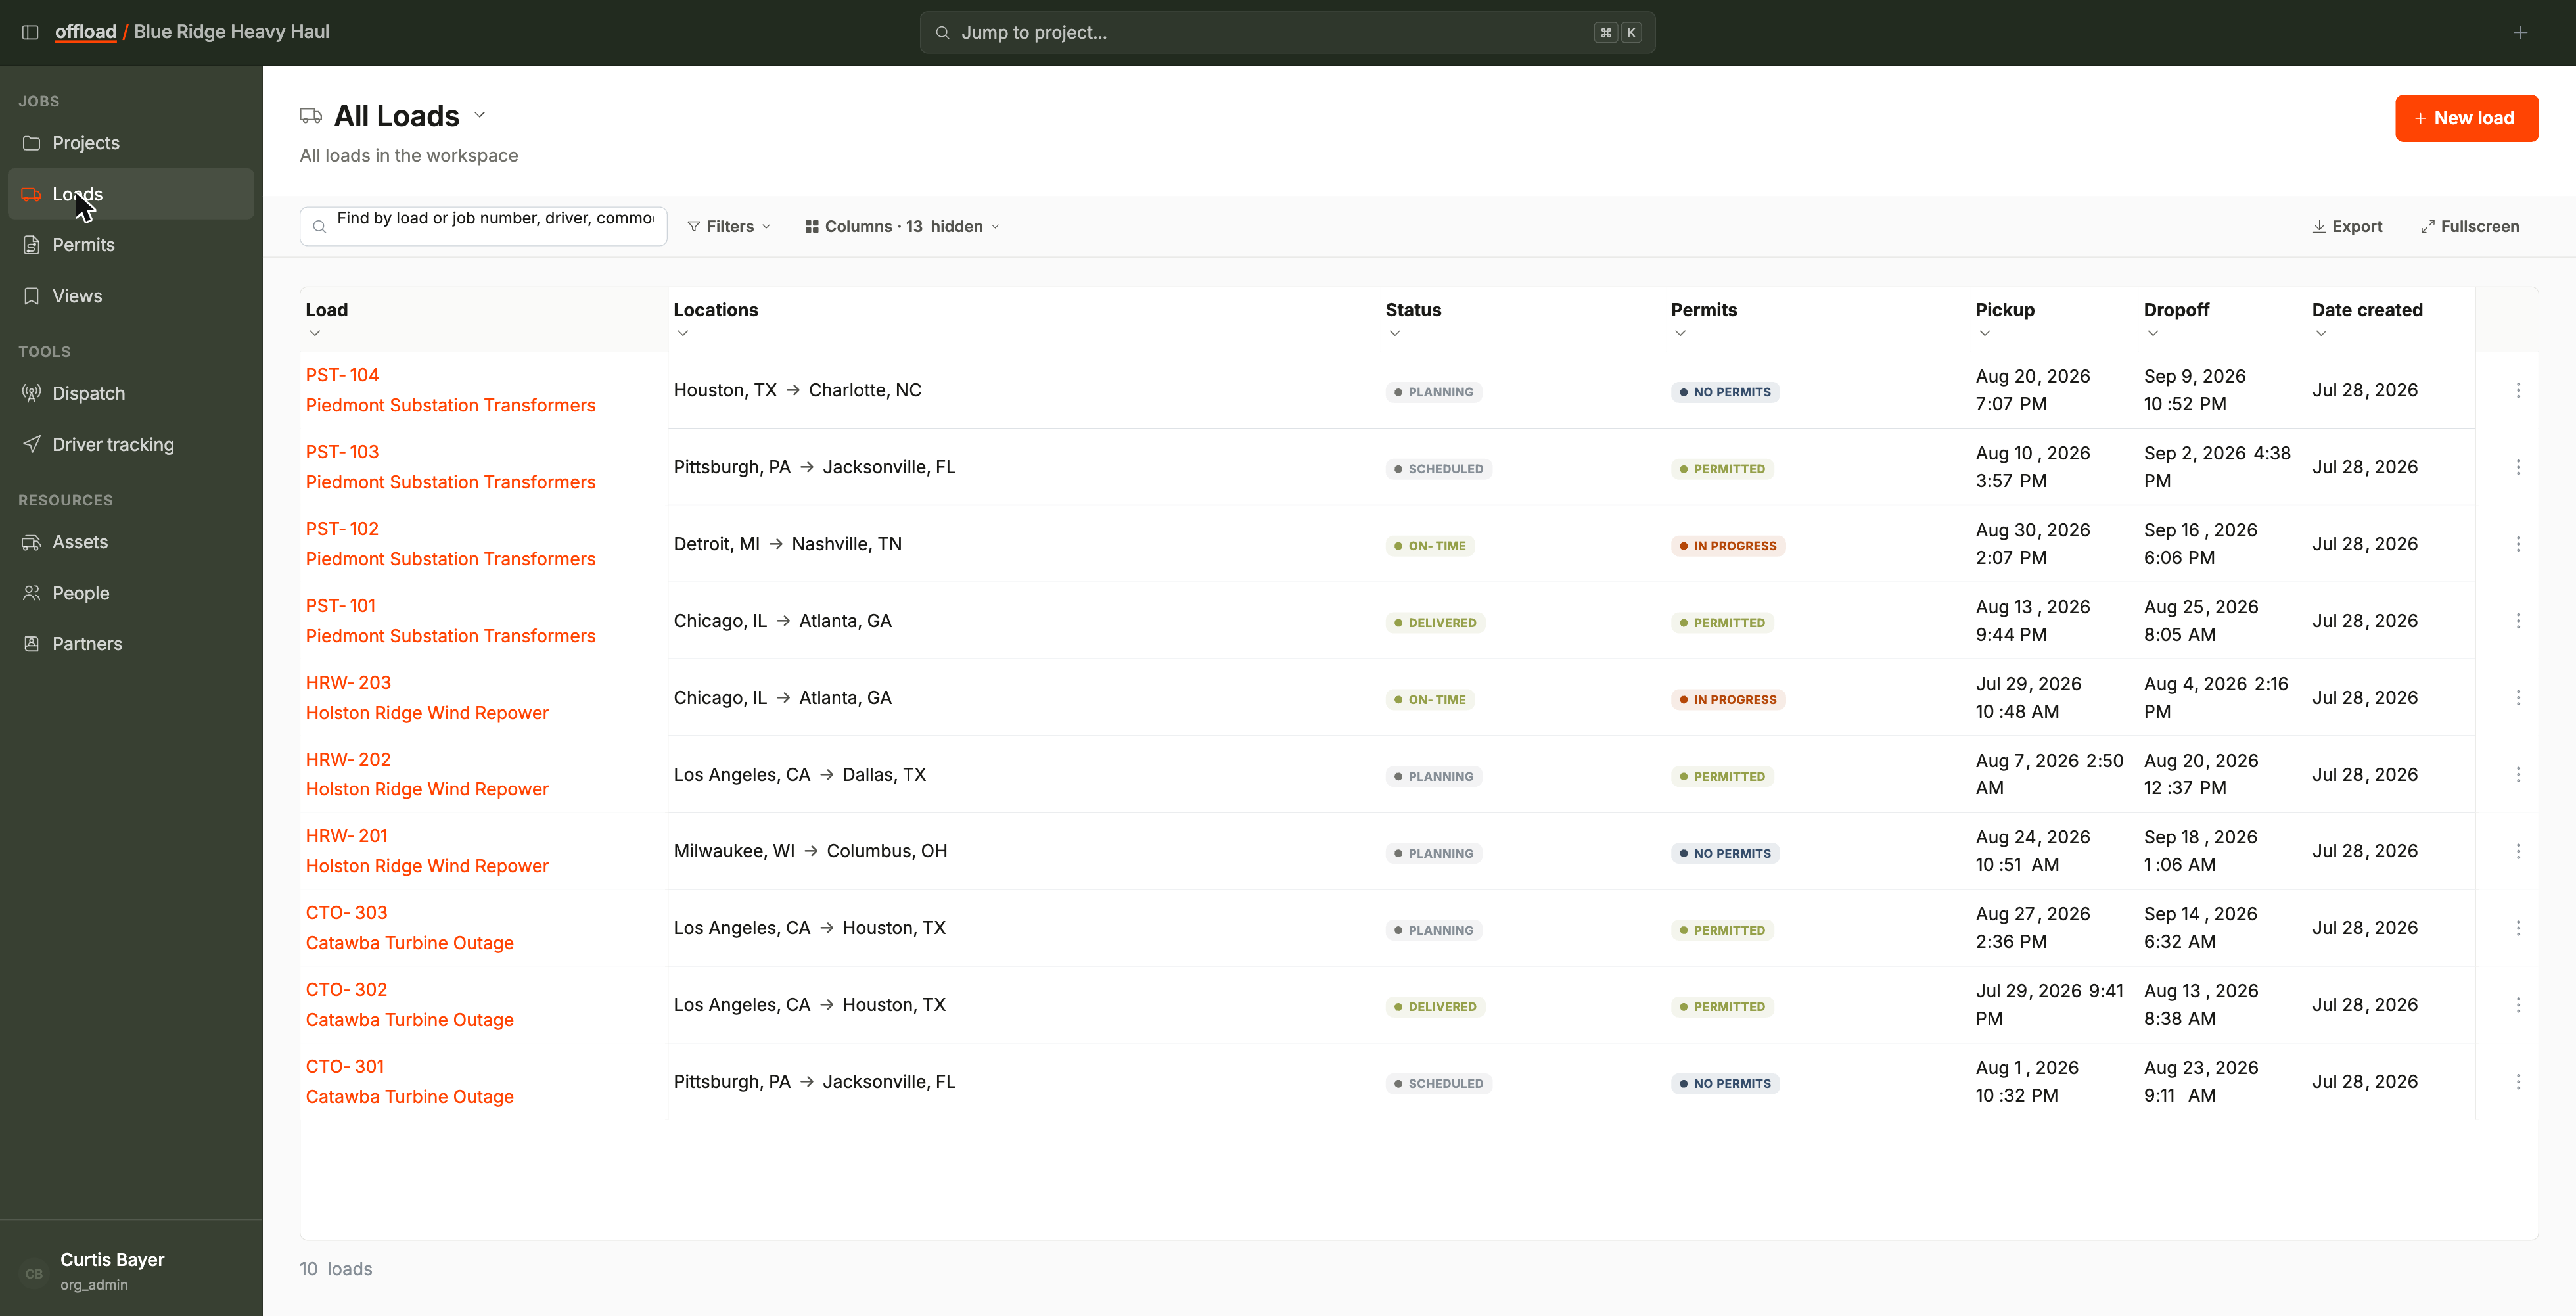
Open Loads (/loads), Projects (/projects), or Permits (/permits) from the left navigation. They all work the same way. - 2
Note the current view
The page title is the view switcher. It shows the view you're on now. You'll shape from here.
Filter and group
Narrow the list to the rows you care about, then collect them under headers so the shape reads at a glance.
- 1
Add filters
Open the Filters control and add conditions: status chips, person pickers, date ranges, and more. A row has to match all of them. - 2
Group the rows
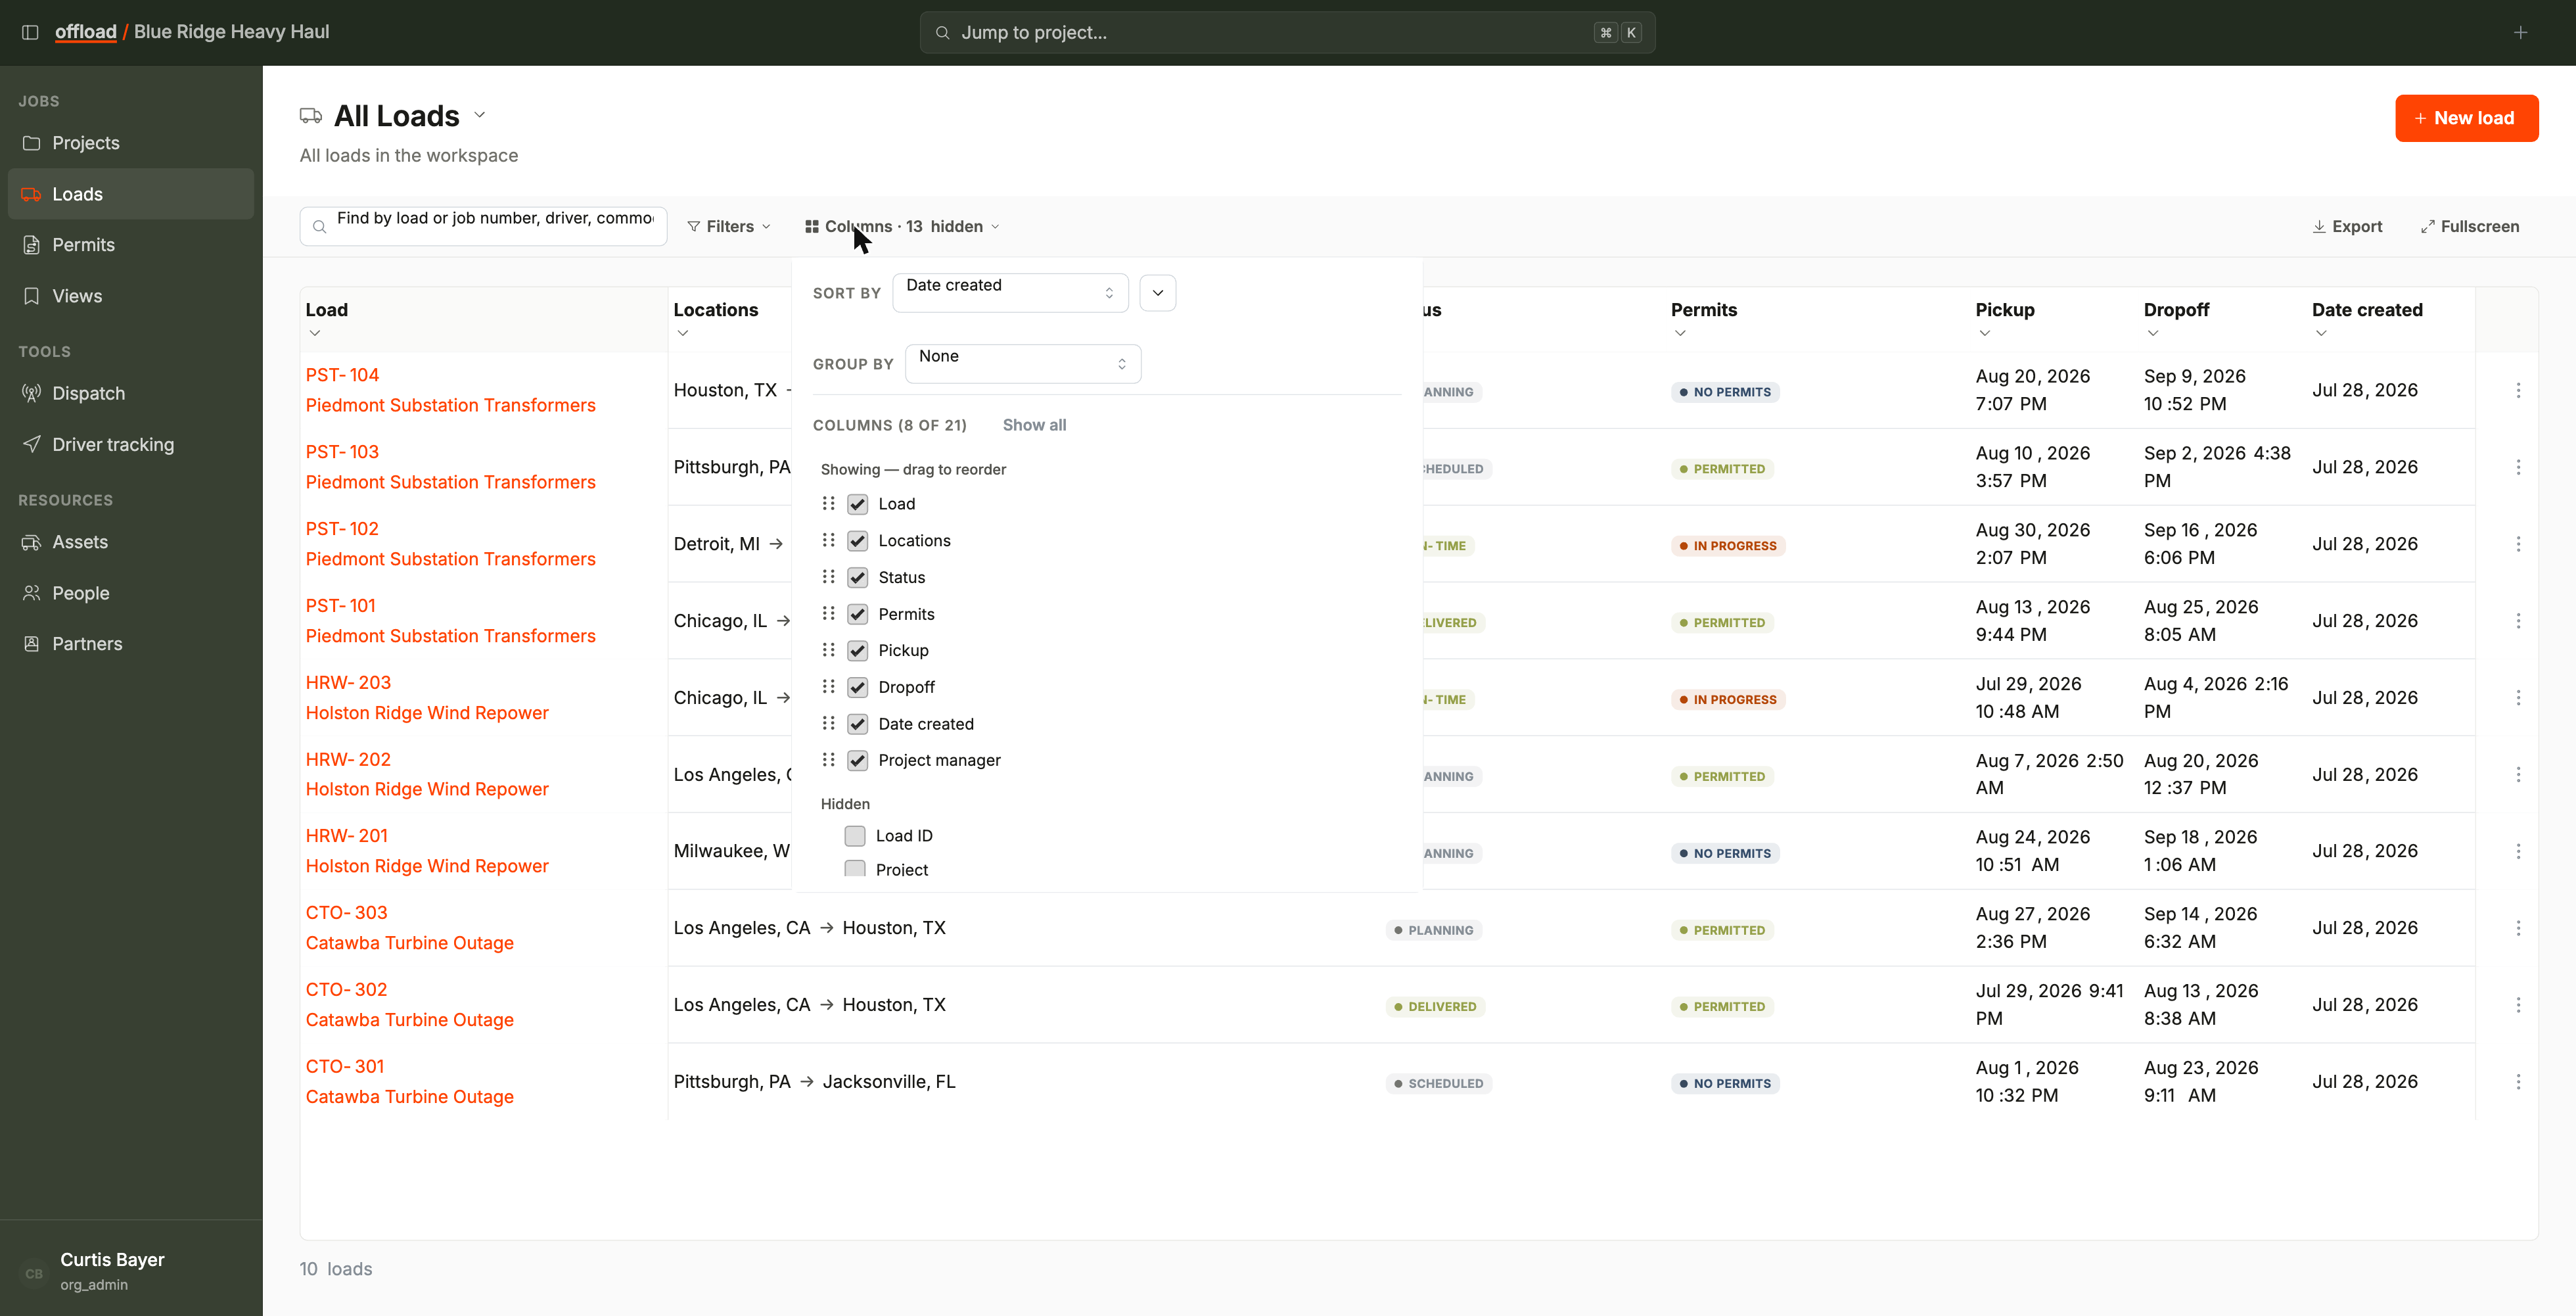
Group by a field like status or customer (the Group-by control lives in the Columns panel). Each group header shows how many rows are inside it. - 3
Sort within the list
Click a column header to sort, or use the Sort-by control in the Columns panel.
Pick and arrange columns
Show the columns that matter and put them where you want them.
- 1
Open the Columns panel
Click the Columns button in the toolbar. It shows how many columns are hidden. - 2
Choose which columns show
Turn columns on or off in the panel. - 3
Put them in order
Drag entries in the panel's "Showing" list to reorder. The first column stays pinned on the left as you scroll sideways.
Save it as a new view
Now that the list looks right, save the shape so you can come back to it.
- 1
Open the save menu
When you've made changes, an "Unsaved changes" state appears with a split Save view button. Open its menu and choose Save as new view. - 2
Name it and set visibility
In the details form, give the view a name, add optional instructions, and choose its visibility with the Visibility radio: Personal (just you) or Workspace (your whole organization, if that option shows for you). Pick carefully: the visibility can't be changed after saving. - 3
Save
Save the form. Your new view is now in the switcher, one click away.
"Save as new view" leaves the view you started from untouched. Use it when you're branching off an existing view rather than changing it.
Switch and share
Jump between your views, and hand one to a teammate when you want them looking at the same list.
- 1
Switch between views
Click the page title to open the switcher. Your saved views are grouped by tier (Workspace, then Personal). The active view has a check; an orange dot flags any view with unsaved changes. - 2
Share by link
To share the exact view, copy the page URL (it carries the view as a?view=<id>parameter) and send it. Your teammate opens it read-only. See Who can see a view for what they can and can't change.