Permits and your route
This is the most important part. Before you hit the road, the permit has to be scanned and the route has to be confirmed. This guide walks you through both.
A permit is the paper (or PDF) from the state that says you can move this load, on these roads, at these dimensions, on these dates. Offload reads it and turns it into a GPS route you can follow.
New to permits? See Permit management for how permits and routes fit together.
Scan your own permit
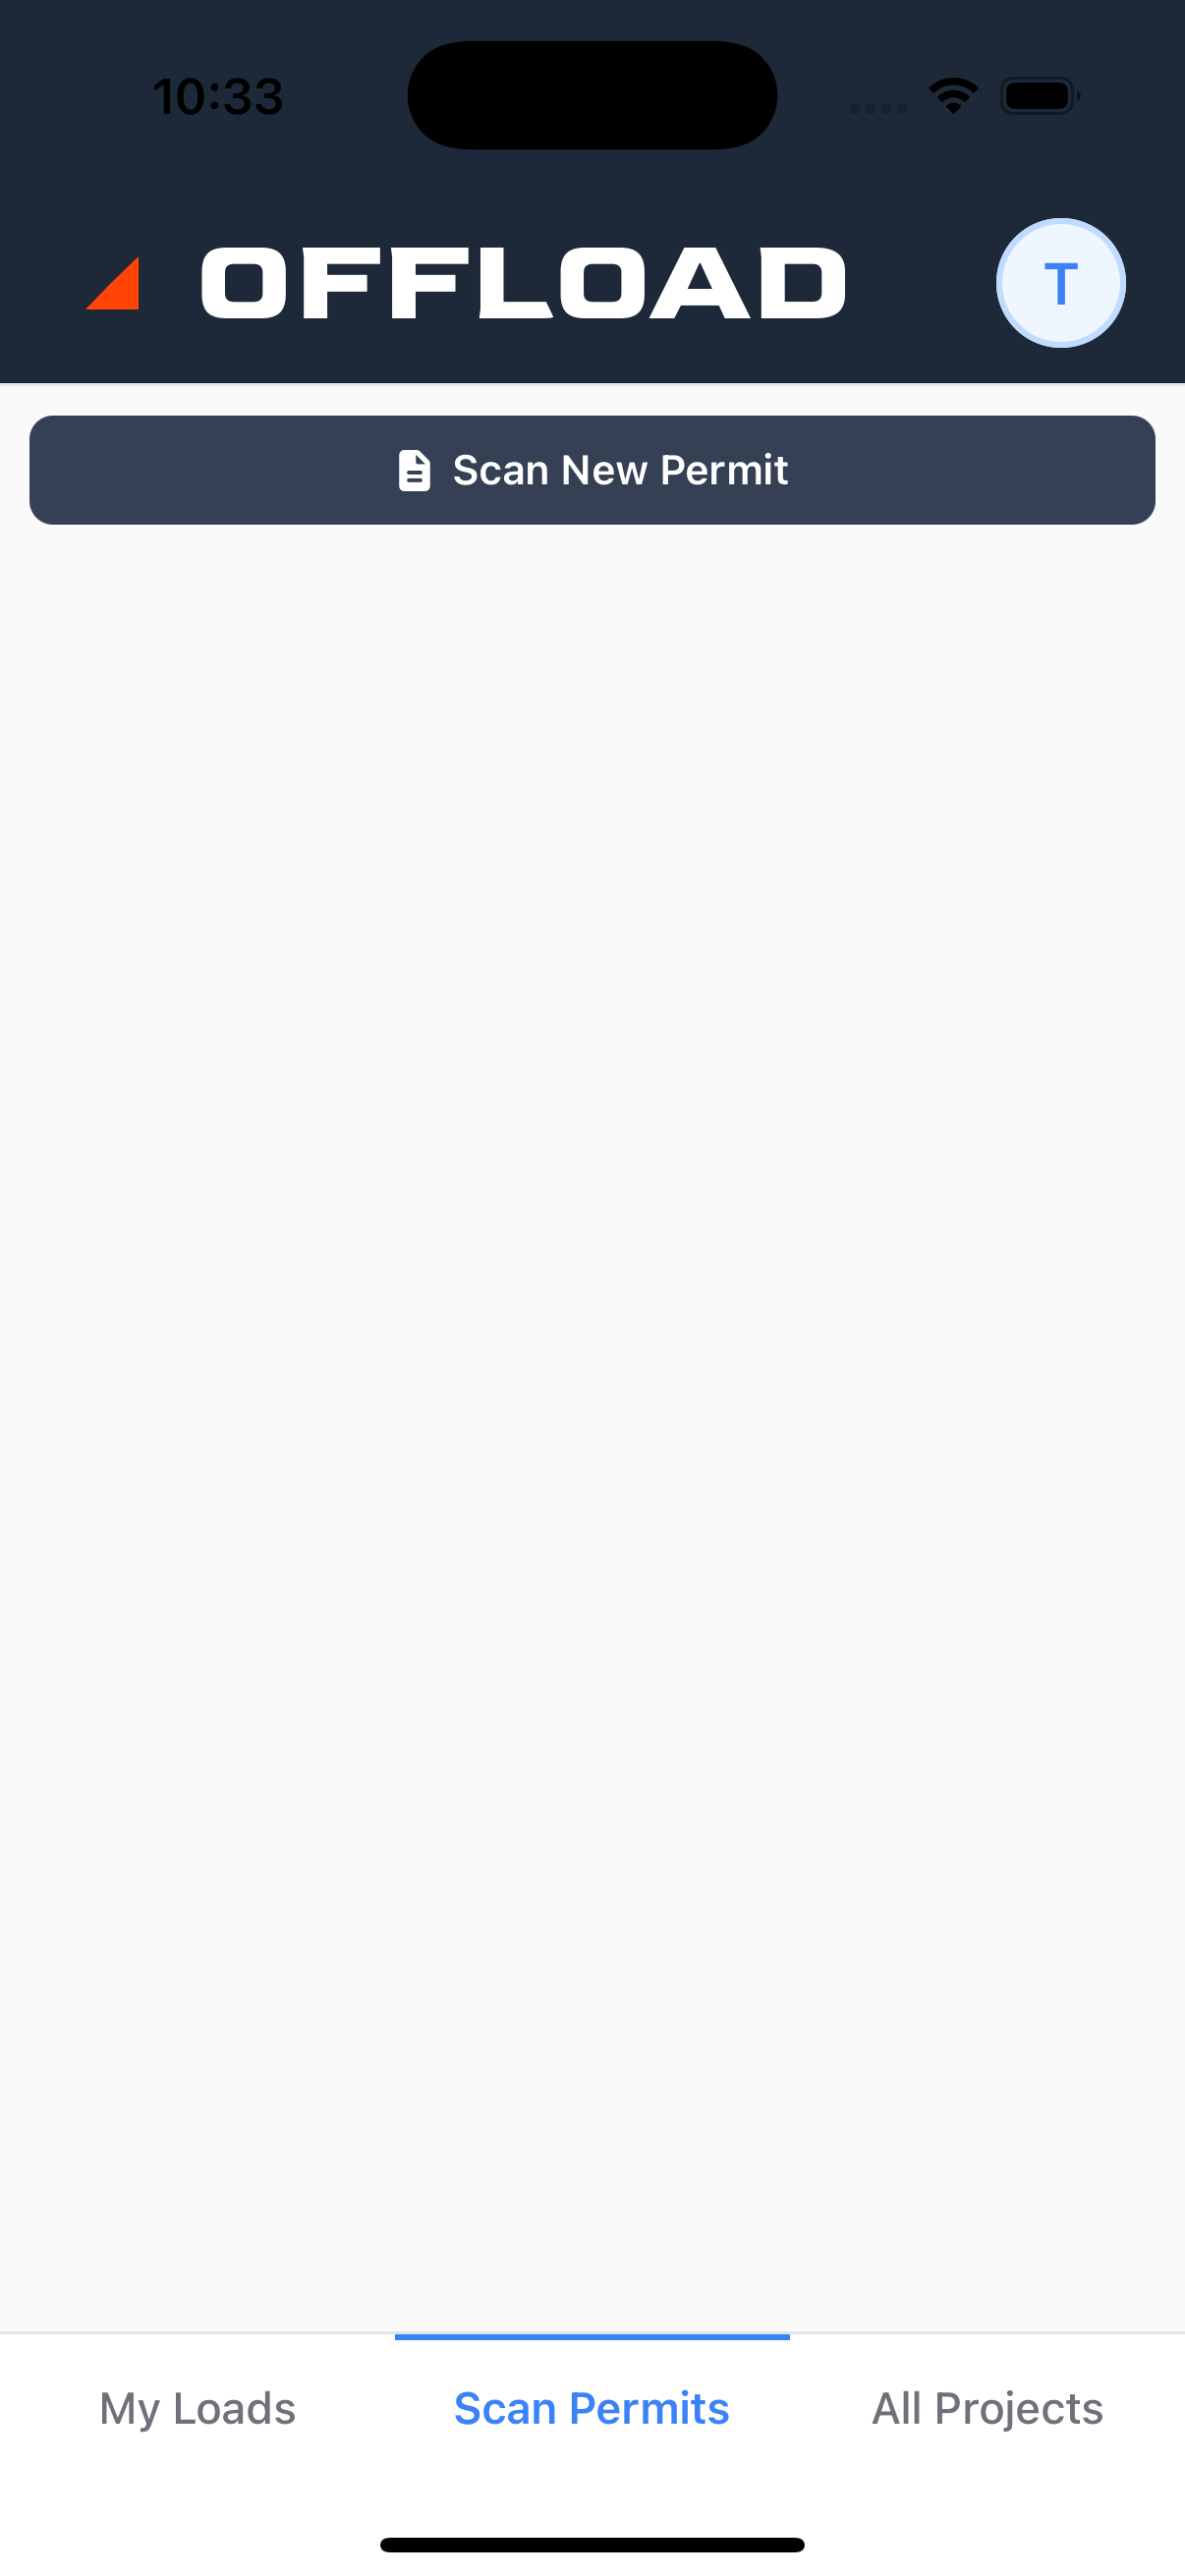
Start in the Scan Permits tab and let Offload read the document.
- 1
Open Scan Permits
Tap the Scan Permits tab at the bottom of the screen. - 2
Tap Scan New Permit
Tap the orange button at the top. Your camera opens. - 3
Take a photo of each page
Line the permit up in the frame and snap each page. If you have the PDF on your phone, you can upload that instead. - 4
Wait for Offload to read it
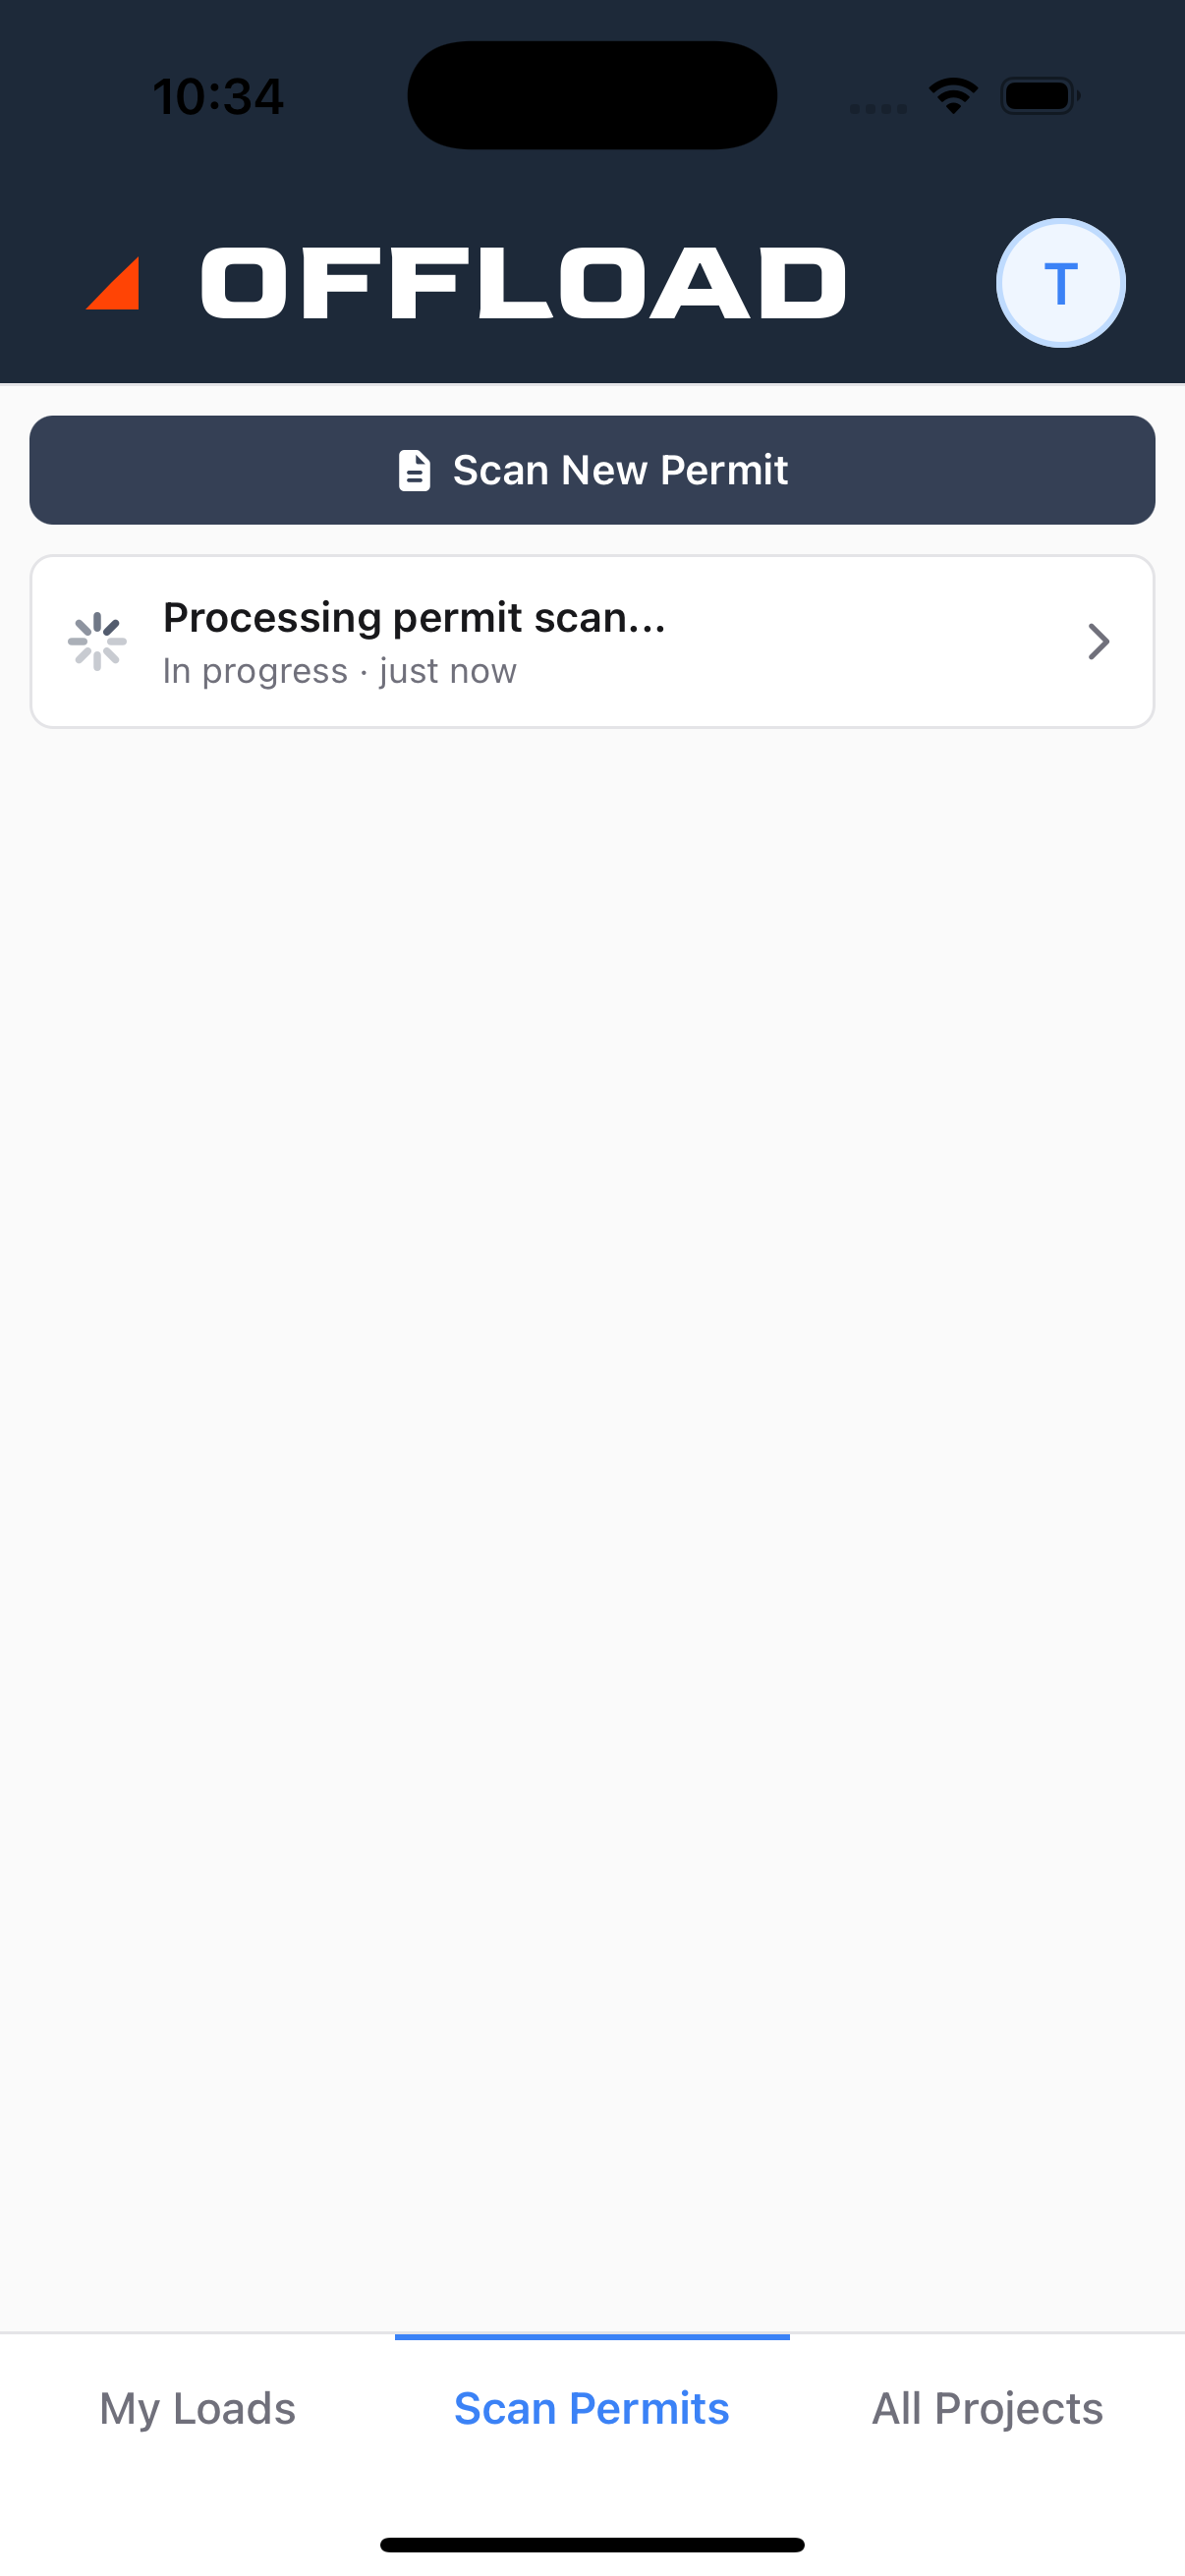
A card appears in the Scan Permits list. It shows In progress with a spinner while Offload reads the document. You don't have to watch. Go do something else and come back. - 5
Open it when it's ready
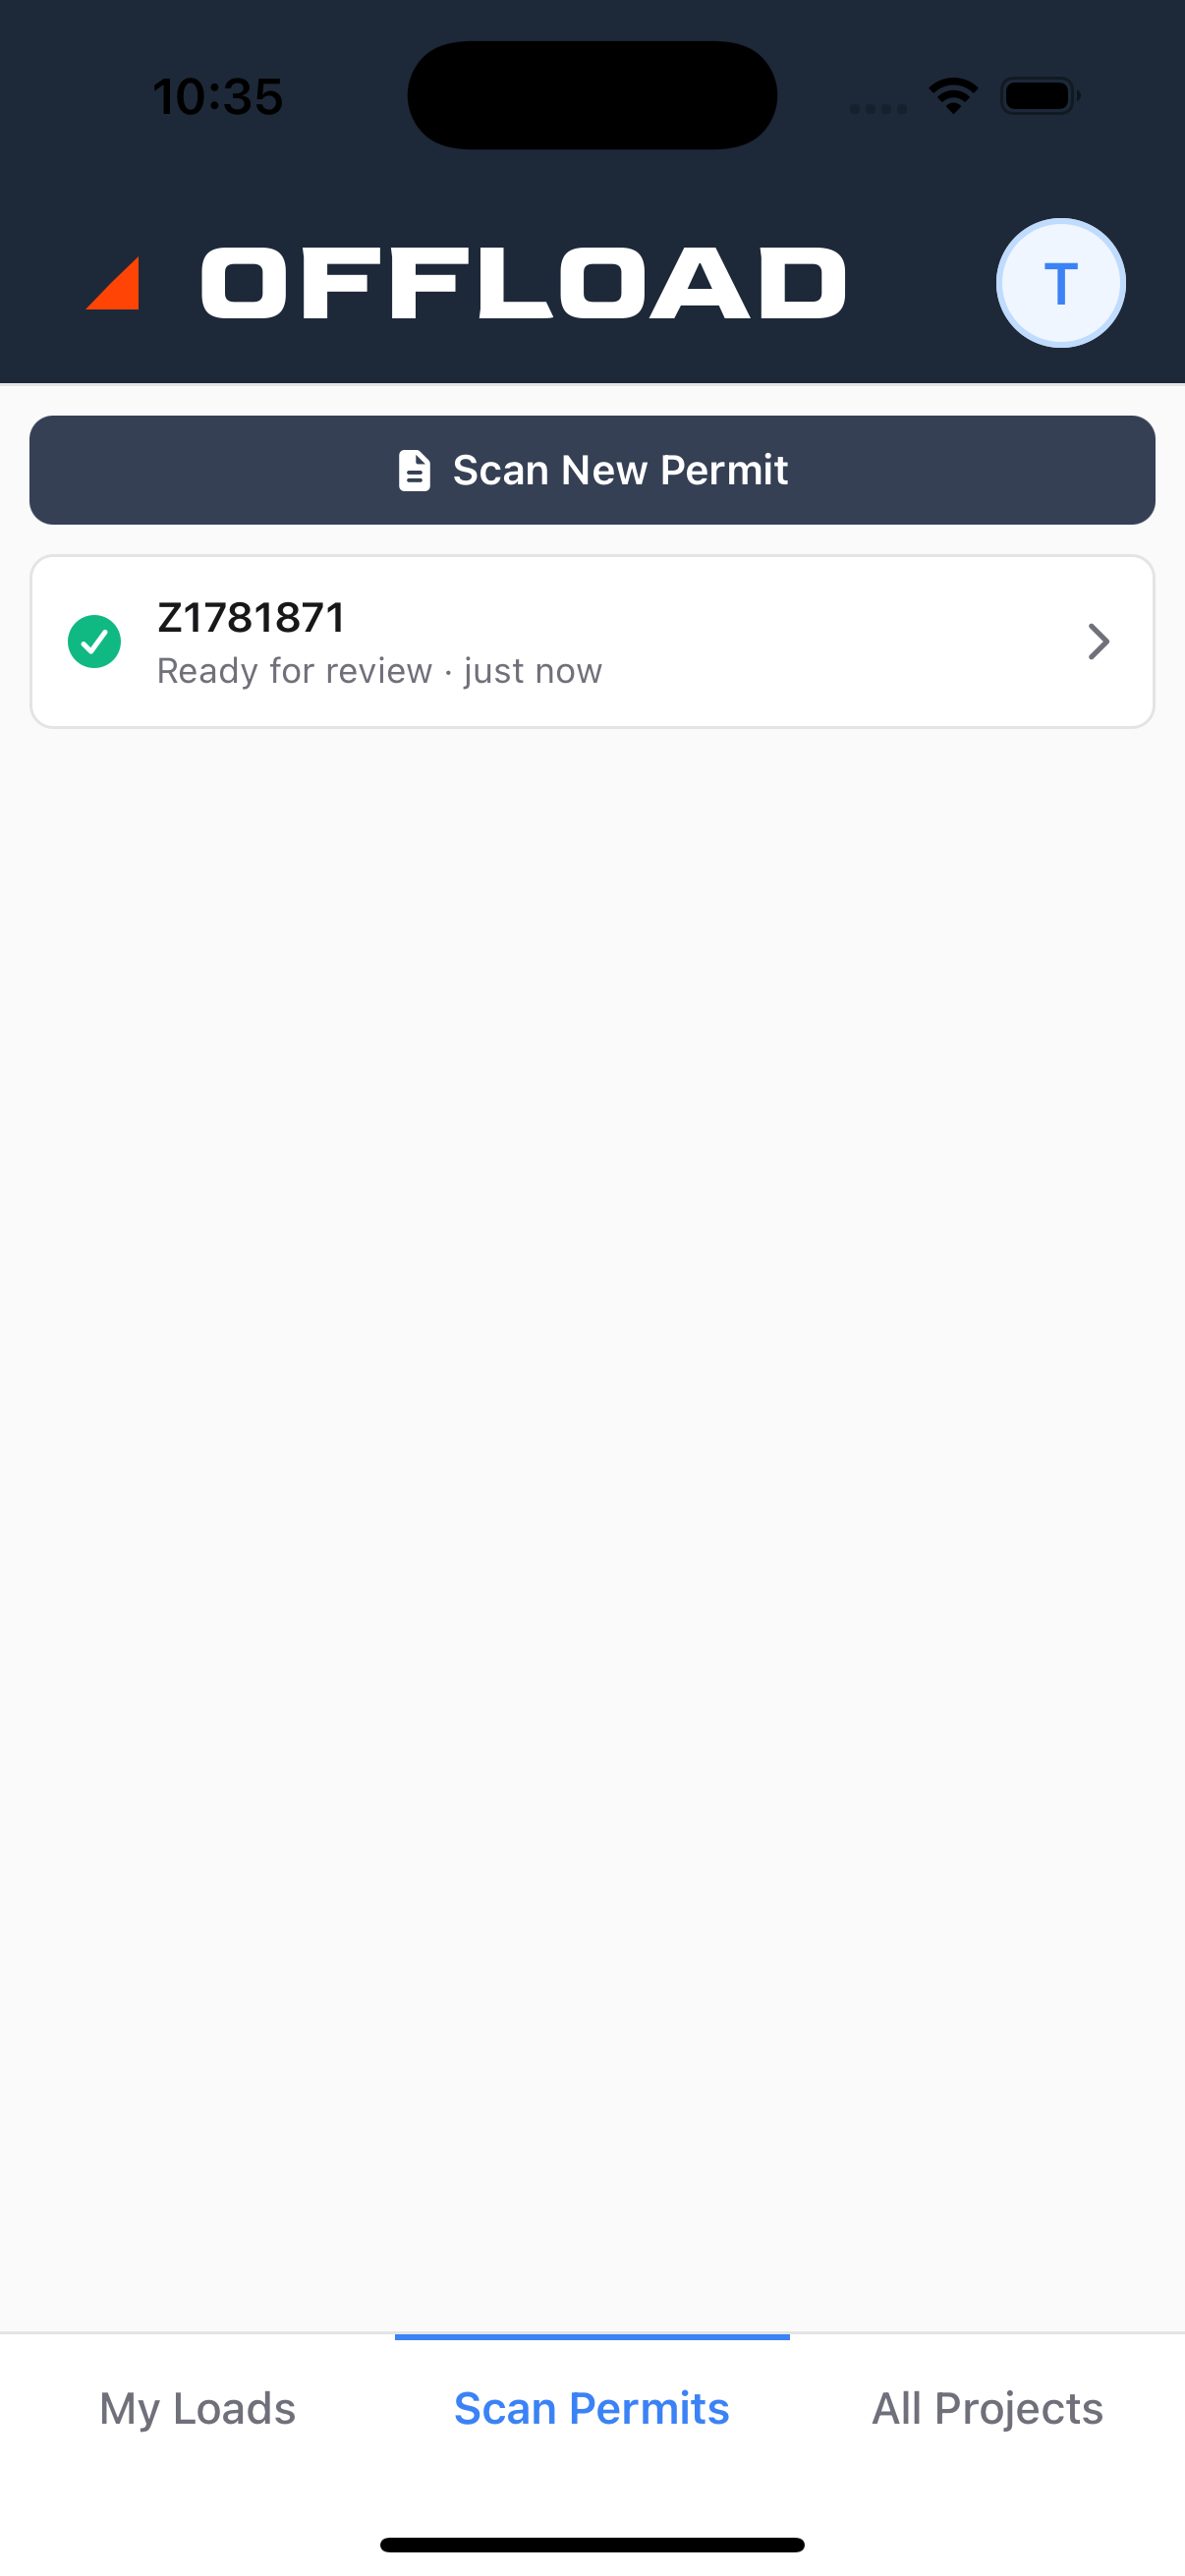
When the card shows a green check and Ready for review, tap it. That opens the Review Permit screen, where you check the details and the route.
The Scan Permits tab shows your scan as it works. It moves through two states you'll see: while Offload is reading the document the card says "In progress", and once it's done it says "Ready for review". (If a scan can't be read, the card says "Failed" so you can retry it.)
Review the permit details
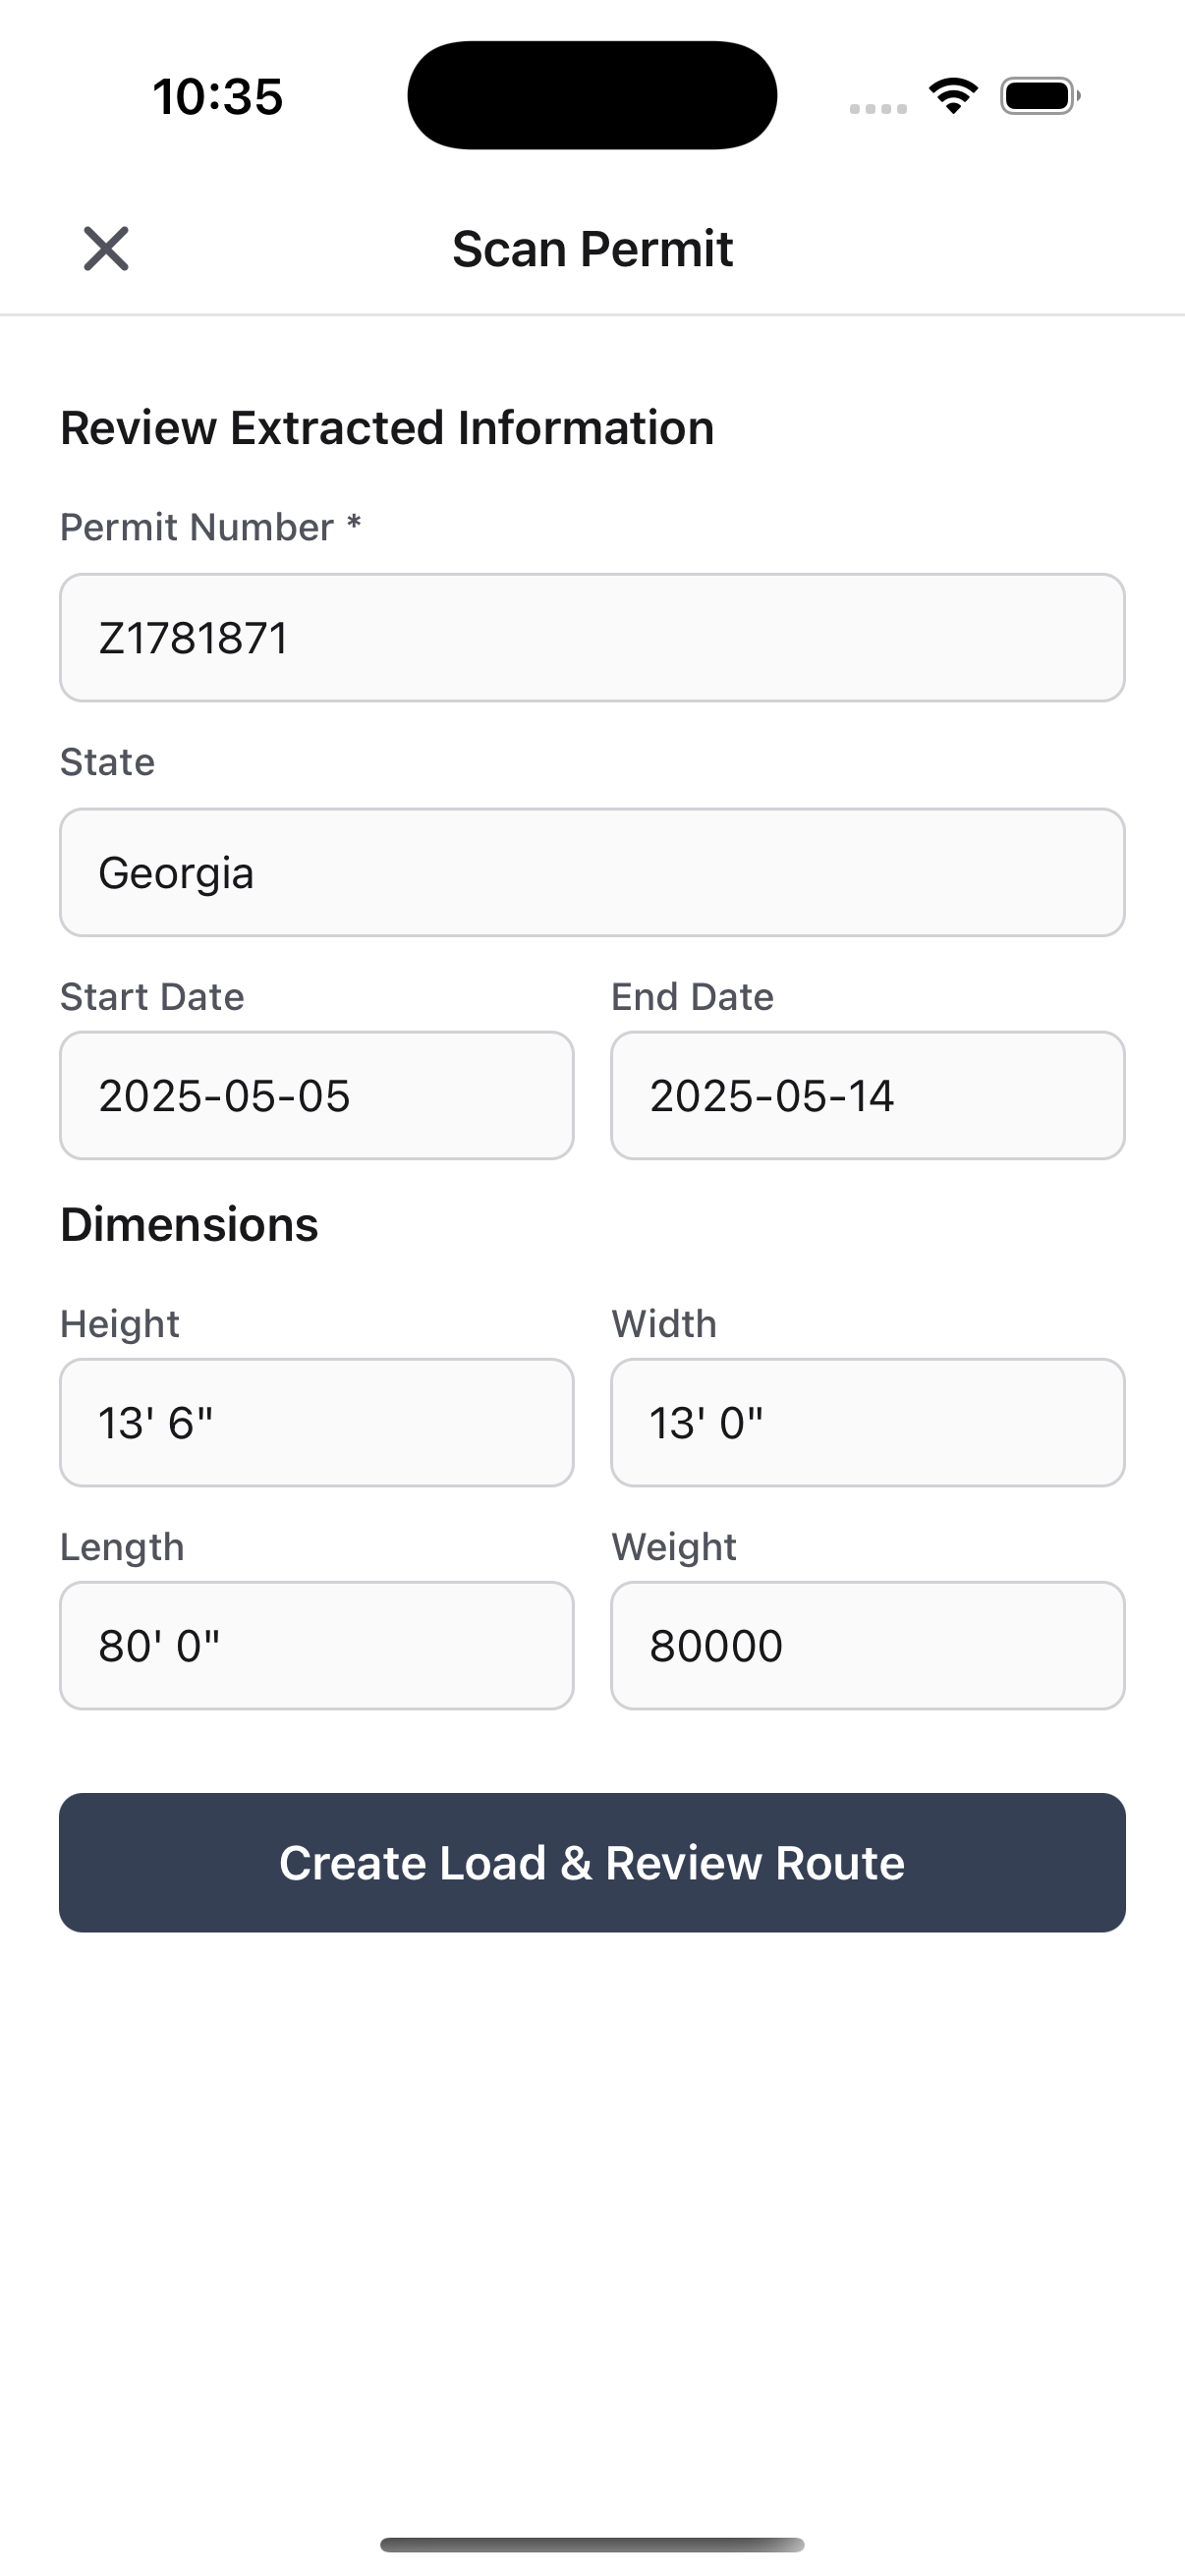
The Review Permit screen has tabs along the bottom: Document, Details, Route, and Curfews. Start on Details and make sure Offload read the permit right.
- 1
Open the Details tab
Tap Details. You'll see the permit number, state, start and end dates, and approved dimensions. - 2
Check each field against the paper
Compare what's on screen to the actual permit. Watch the dimensions and the dates closely (a height off by an inch matters). - 3
Fix anything that's off
Tap a field and correct it. Tap the Document tab any time to see the original permit side by side.
Review your route
Now tap the Route tab. This is where you check the roads Offload picked. You're the one driving, so if something looks wrong, you catch it here, not out on the road.
- 1
Look at the whole trip
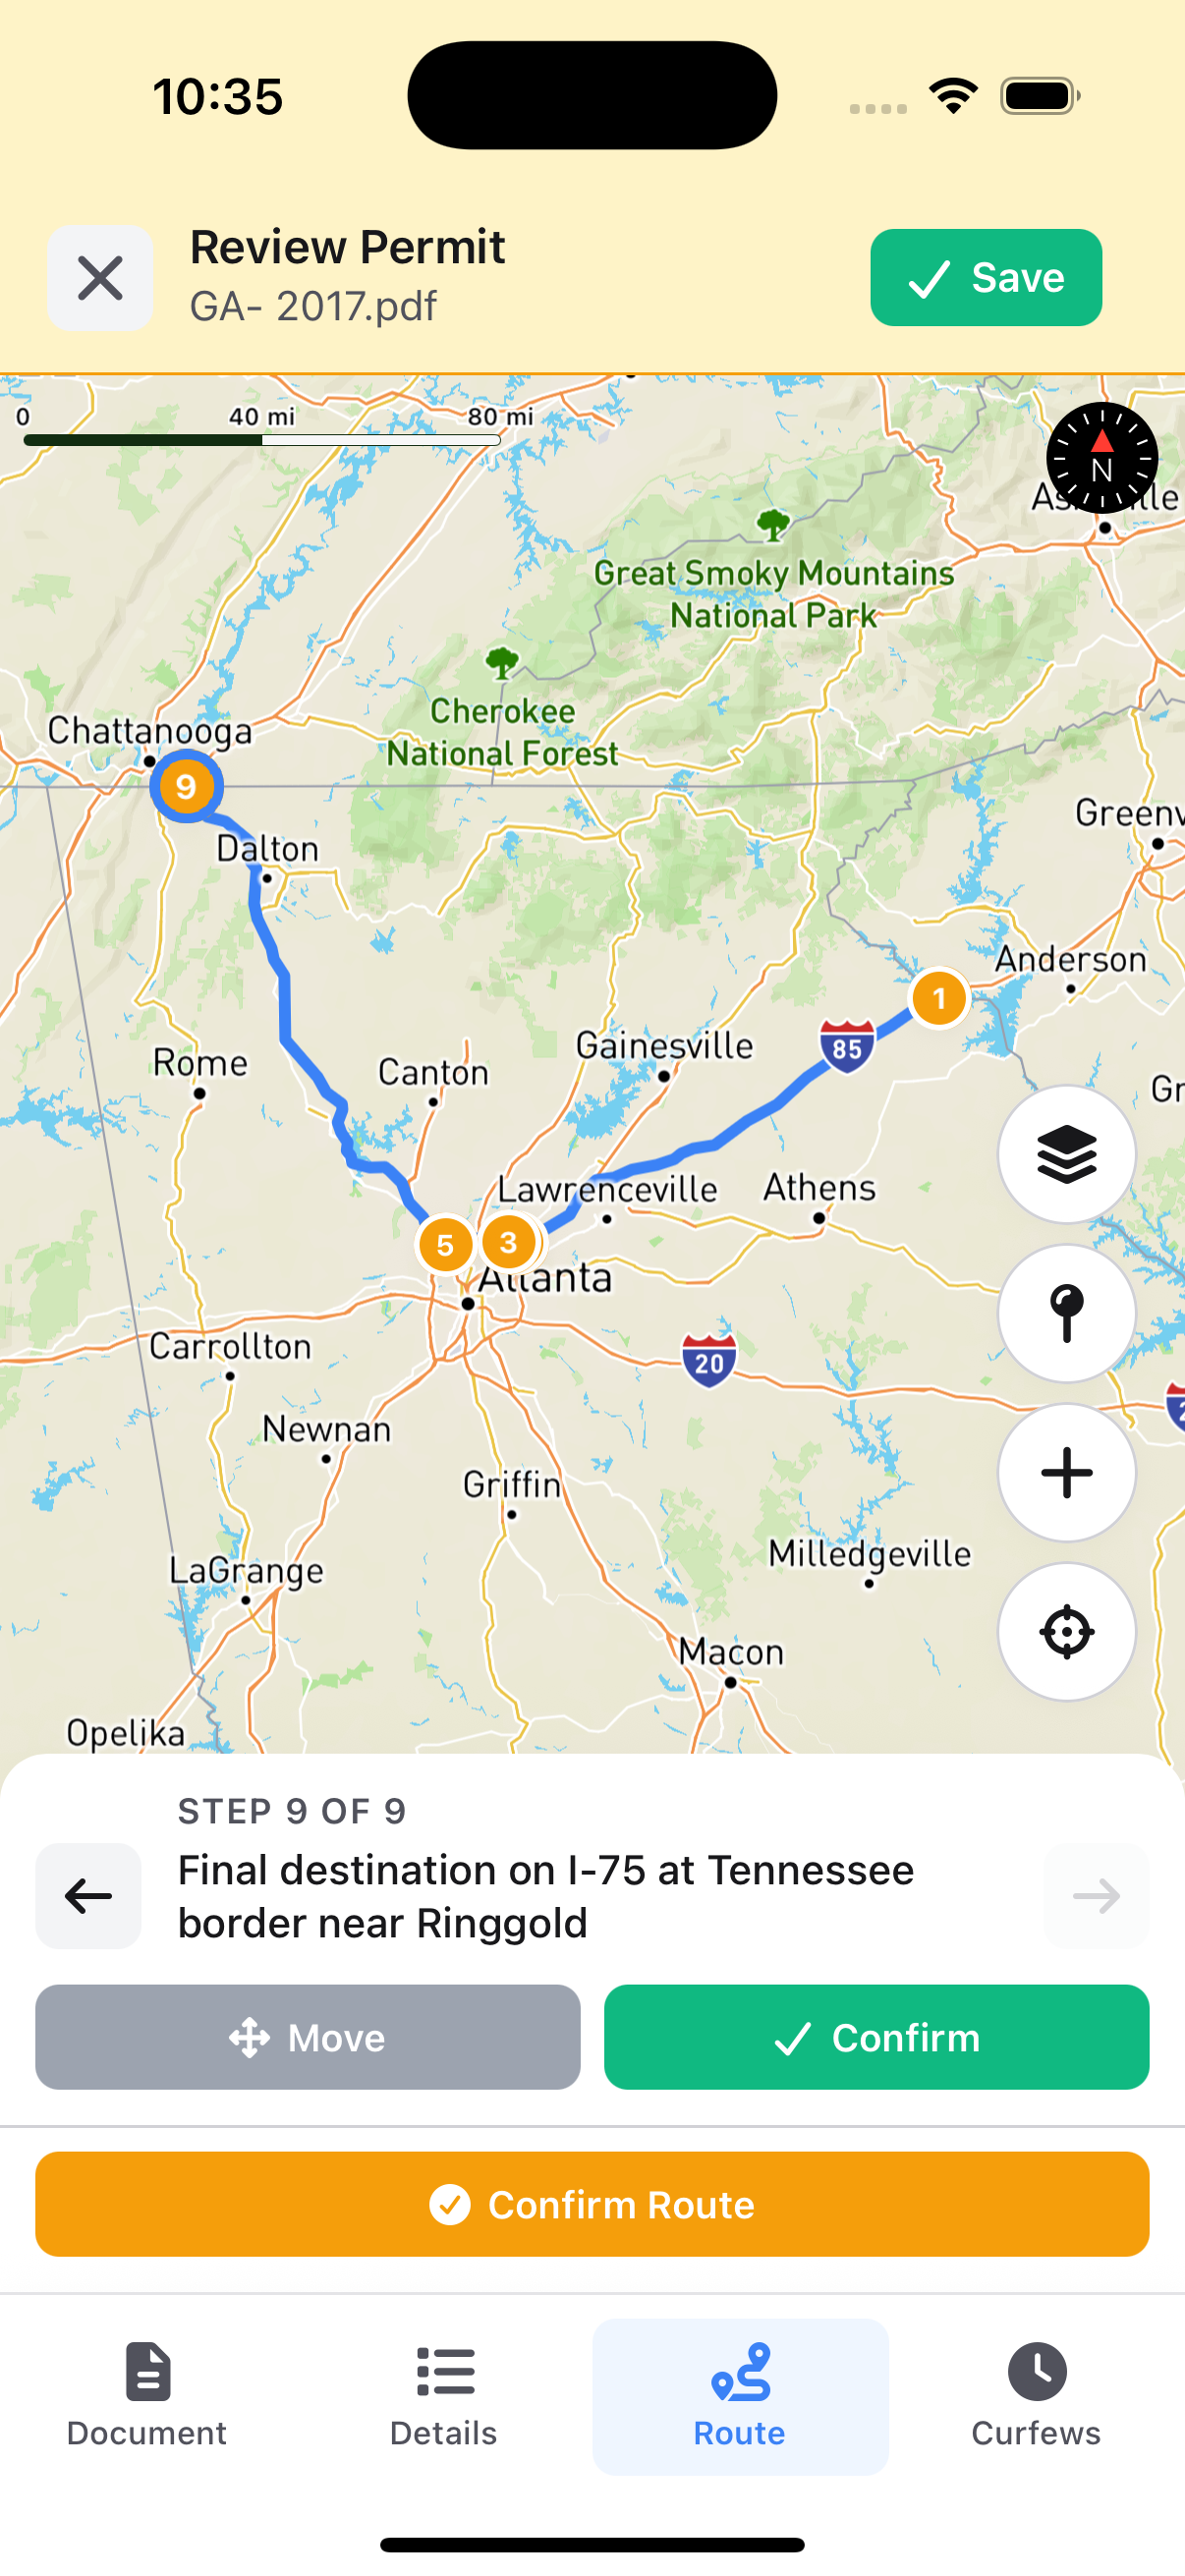
You'll see the full route on a map, with a counter at the bottom ("Step 1 of 9") for which leg you're on. - 2
Step through each waypoint
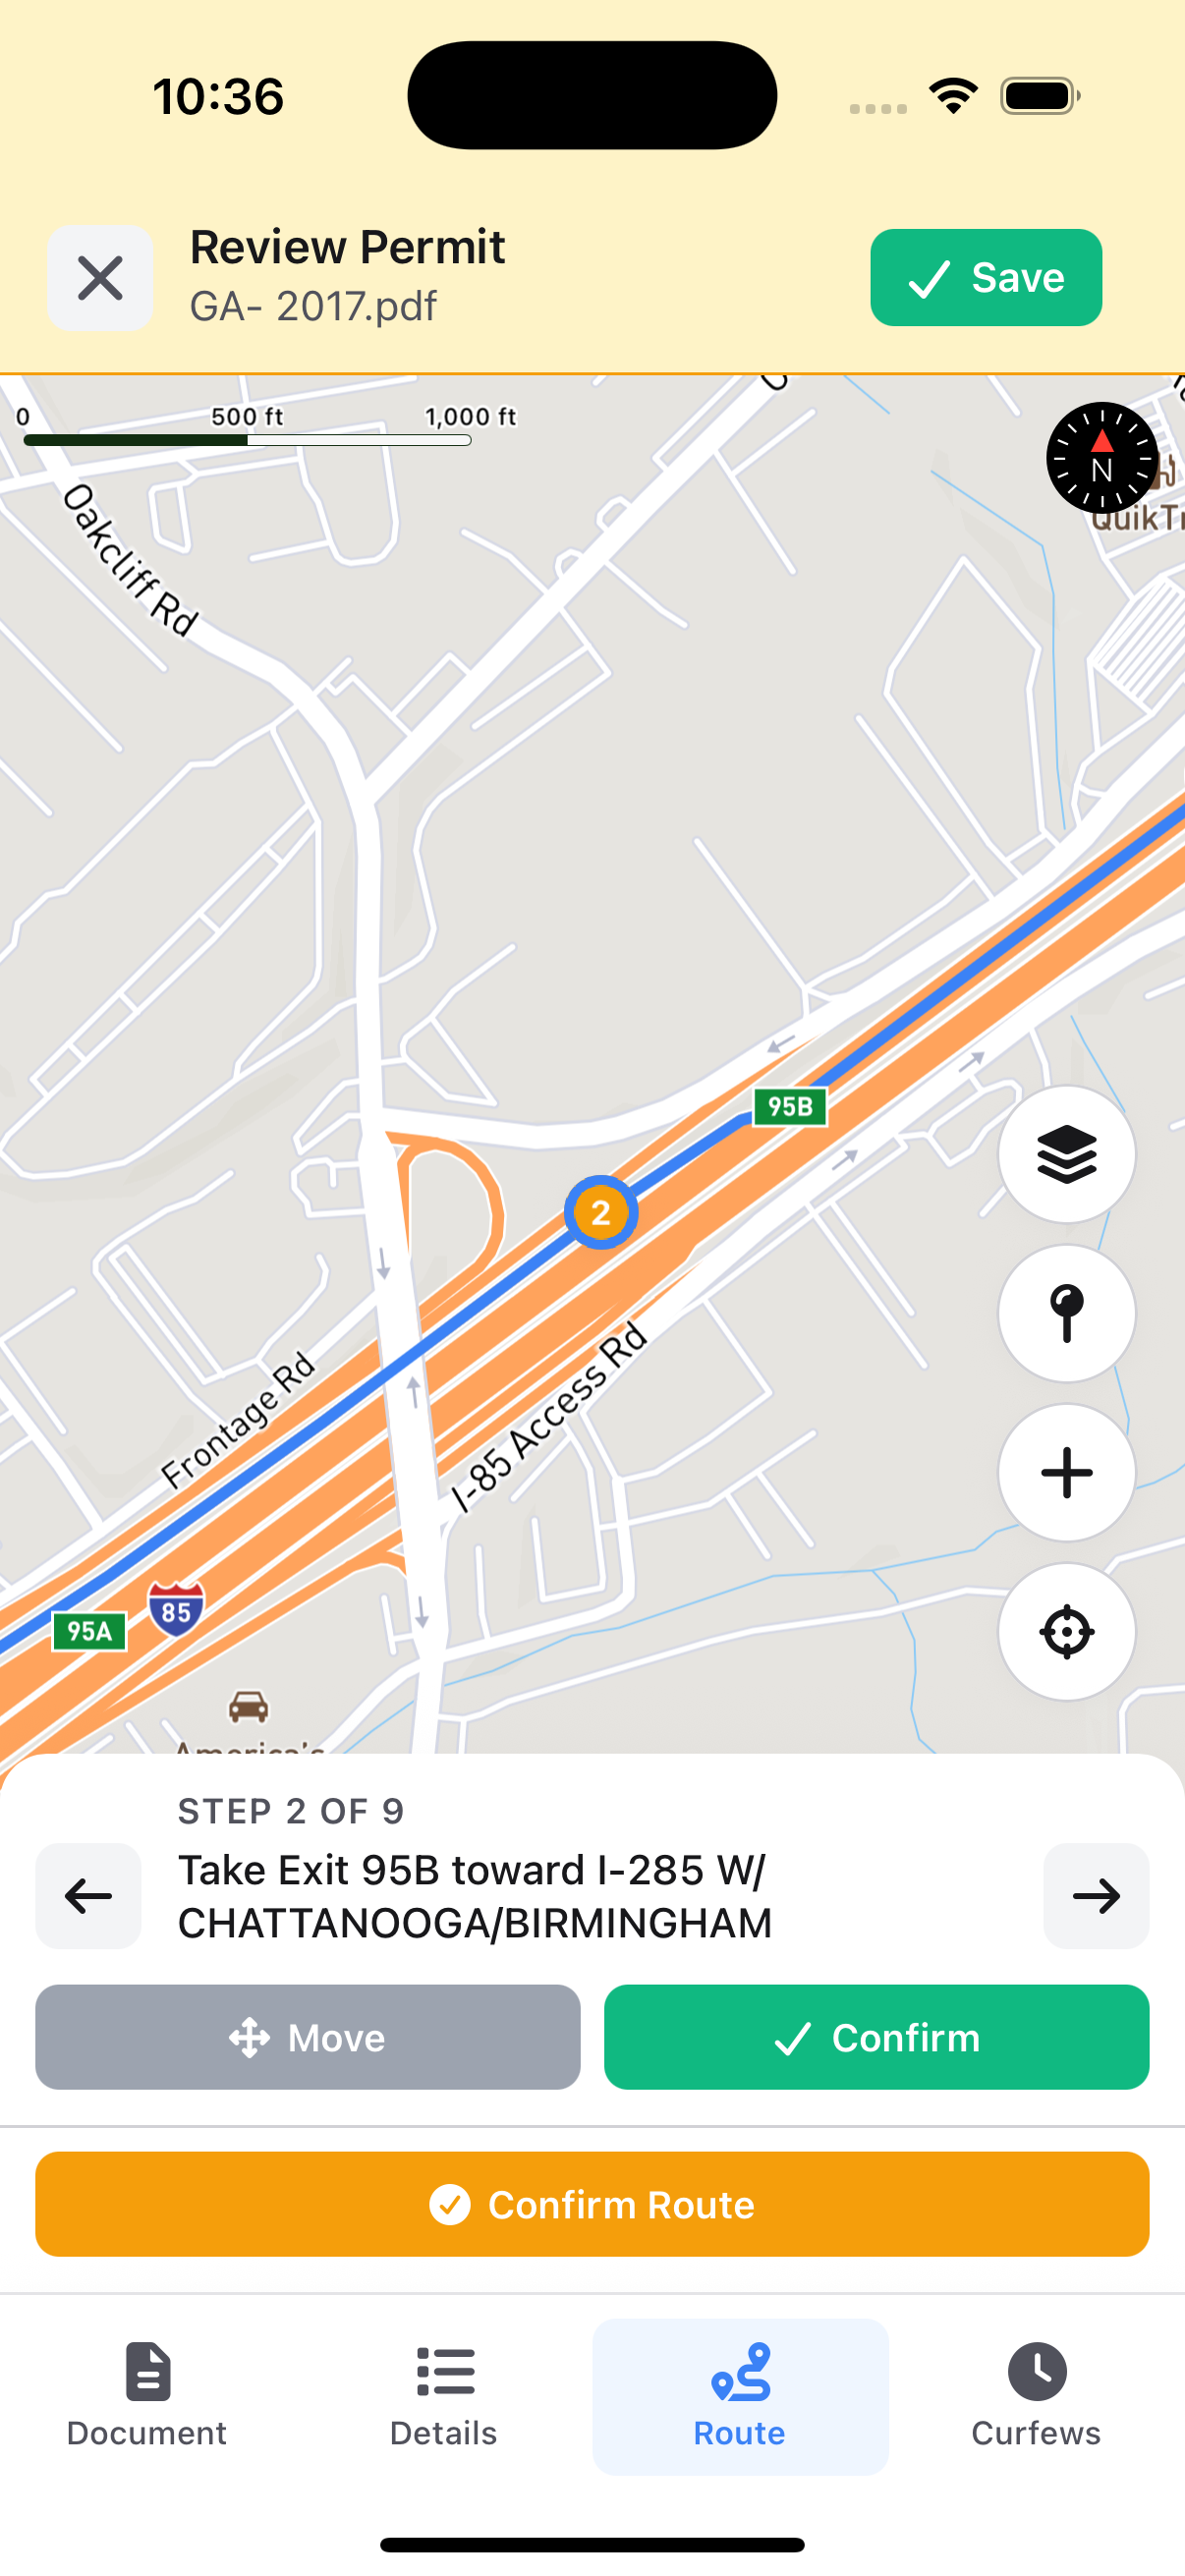
Tap the arrows at the bottom to walk through each point. A waypoint is just a point on the route: an exit, a turn, a milestone. For each one, ask: does the road match the permit, and does it make sense for an oversize load (no low underpasses, no turns you can't make)? - 3
Fix a waypoint that's wrong
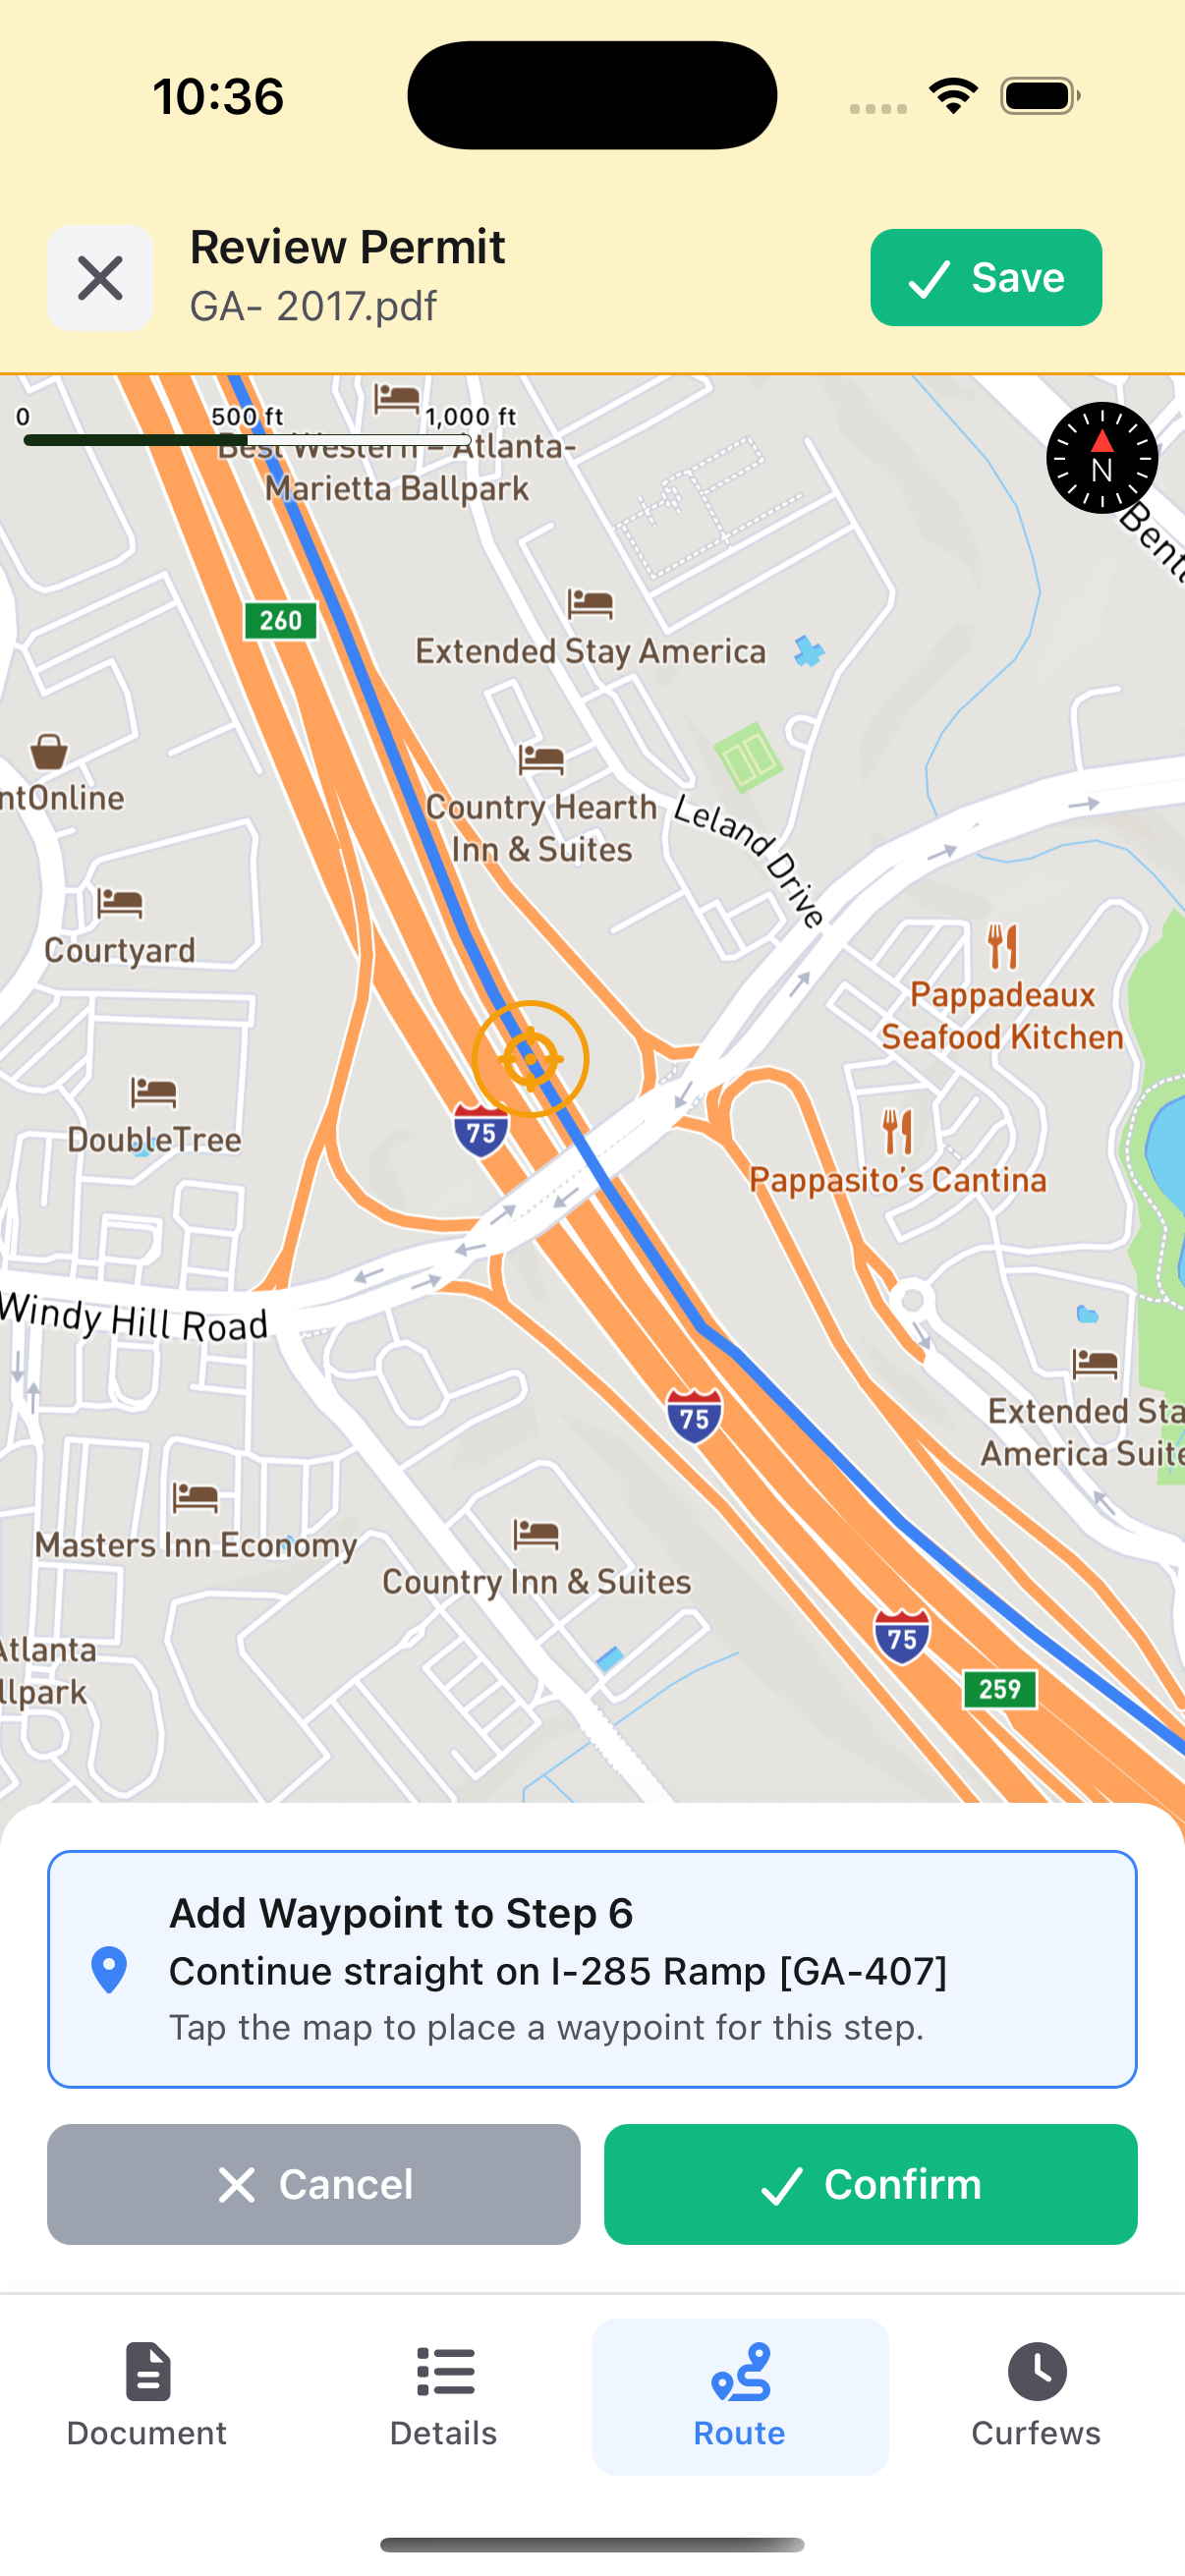
Tap Move. Then tap the exact spot on the map where the route should go. The waypoint jumps to where you tapped. Tap Confirm. - 4
Confirm the route
When every step is checked, tap Confirm Route. The route shows as confirmed.
Save the permit
When the details look right and the route is confirmed, save your work. Saving creates the permit and route on the load so it's ready to navigate.
- 1
Tap Save
Tap the green Save button in the top right of the Review Permit screen. - 2
Confirm
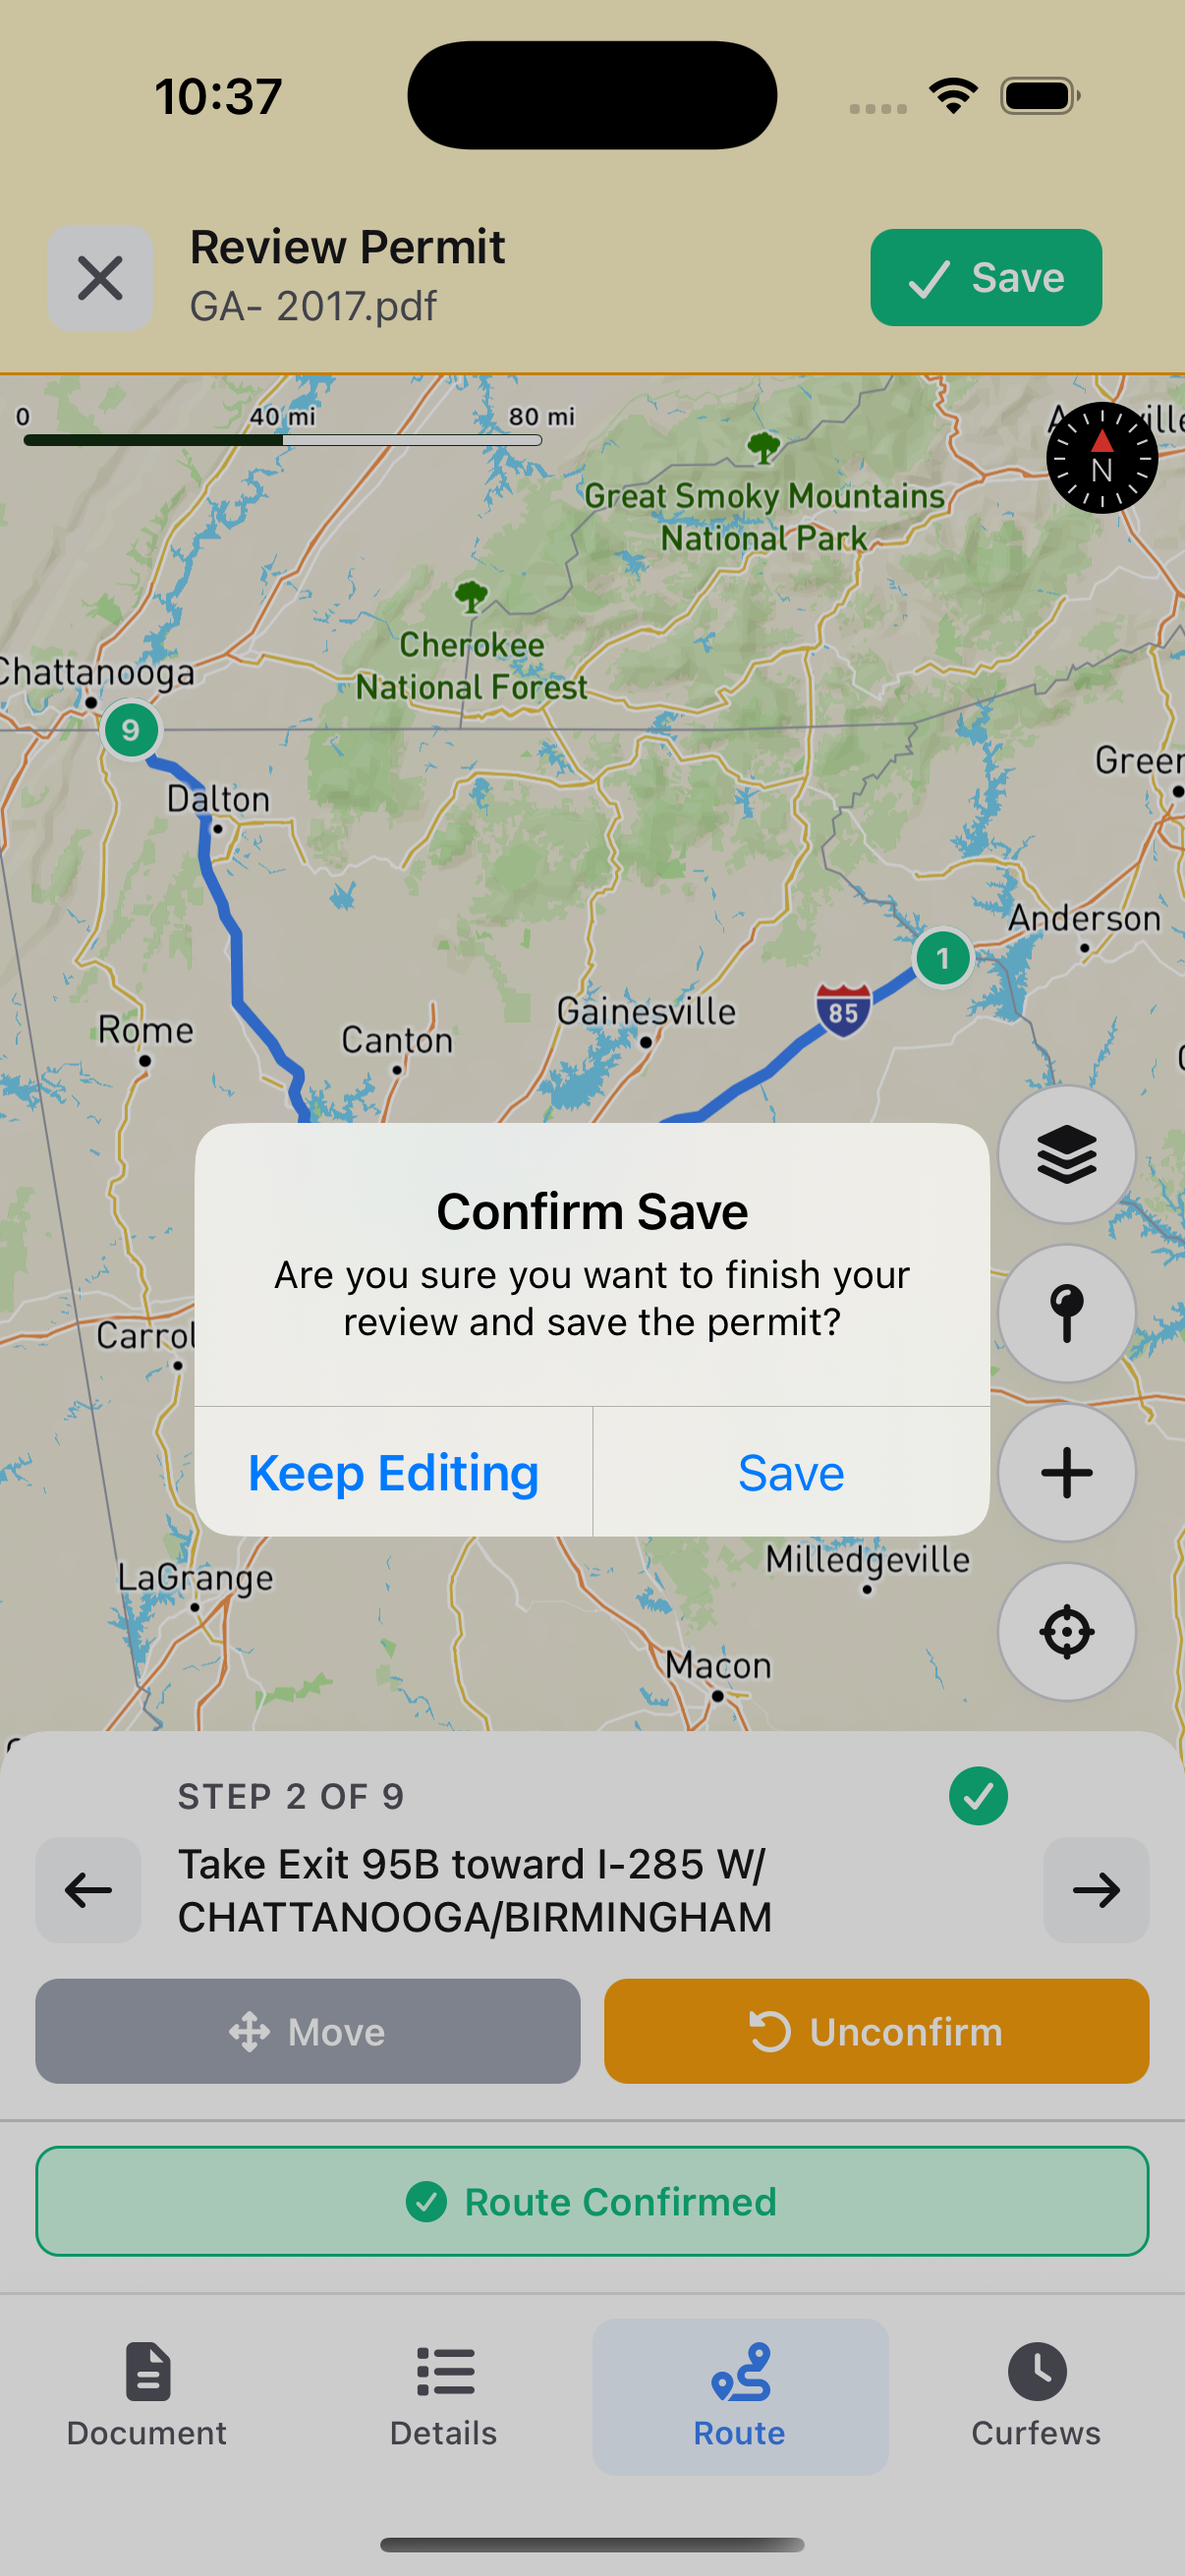
Offload asks you to confirm. Tap Save again to finish, or Keep Editing if you want to check something first. - 3
Wait a moment
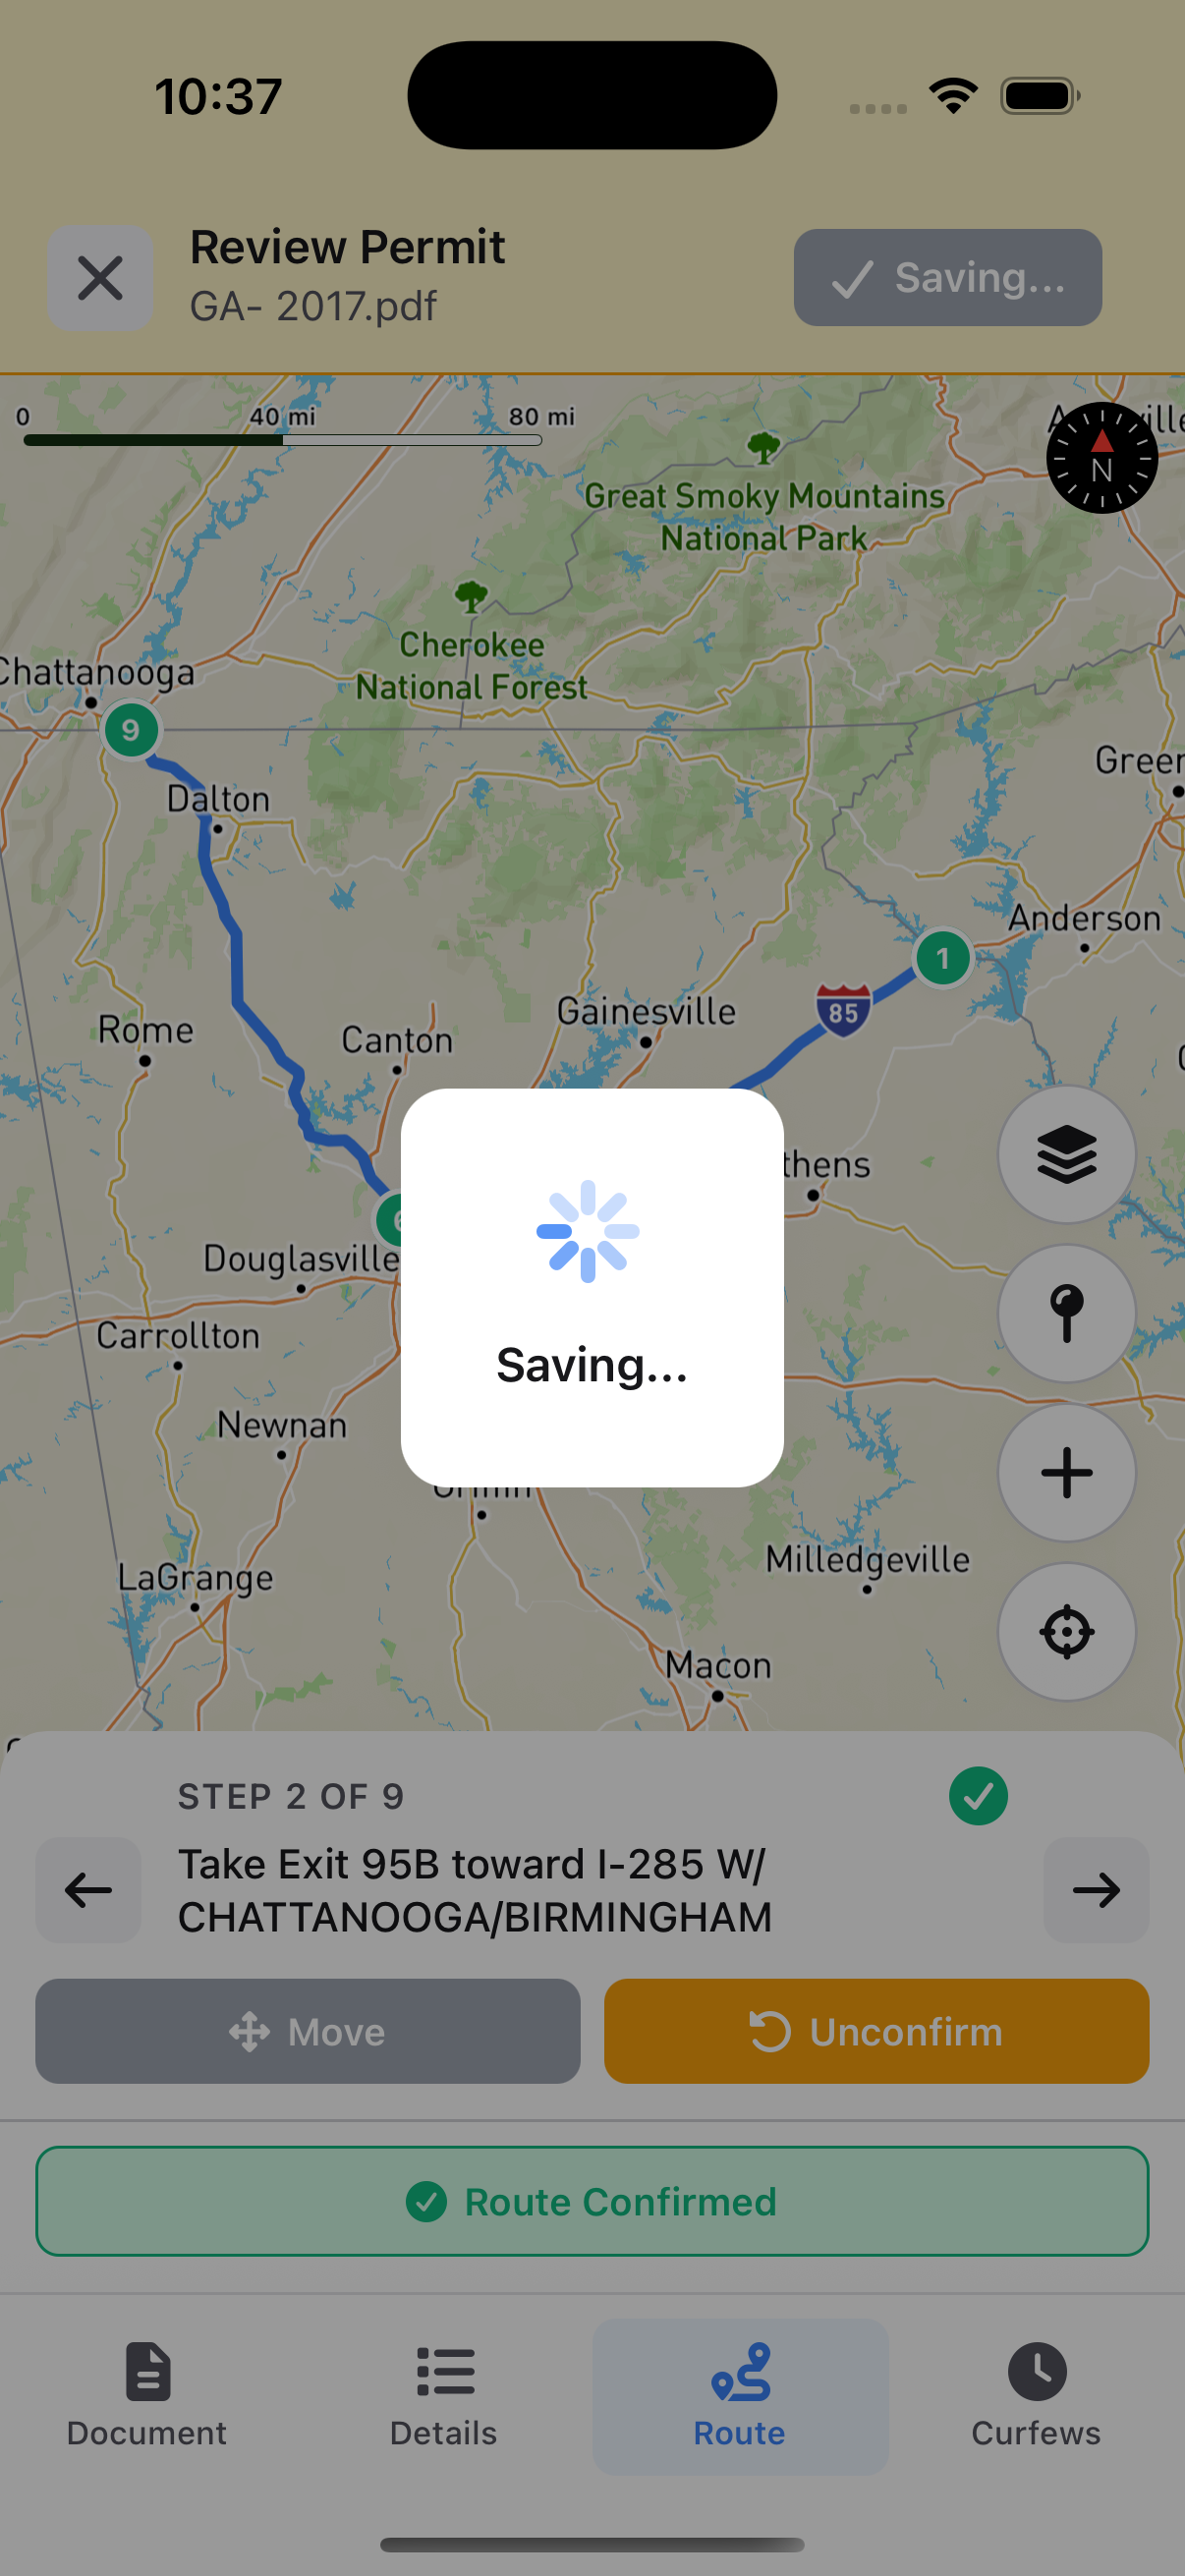
You'll see "Saving..." while Offload writes the permit and route. When it's done, it drops you on the load's Routes tab, ready to roll.
Ready to drive it? Head to Navigation.