Creating a load
This is the back-office playbook for creating a new load: open the Add loads drawer, pick or create the project, fill in the sections, then create. It's written for dispatchers and back-office users working on a computer.
New to loads? See Load management for what a load is and the full status model, and the Load FAQ for common questions.
Open the Add loads drawer
Loads are created in a drawer that slides in from the right. It opens from several places; use whichever is closest to where you are:
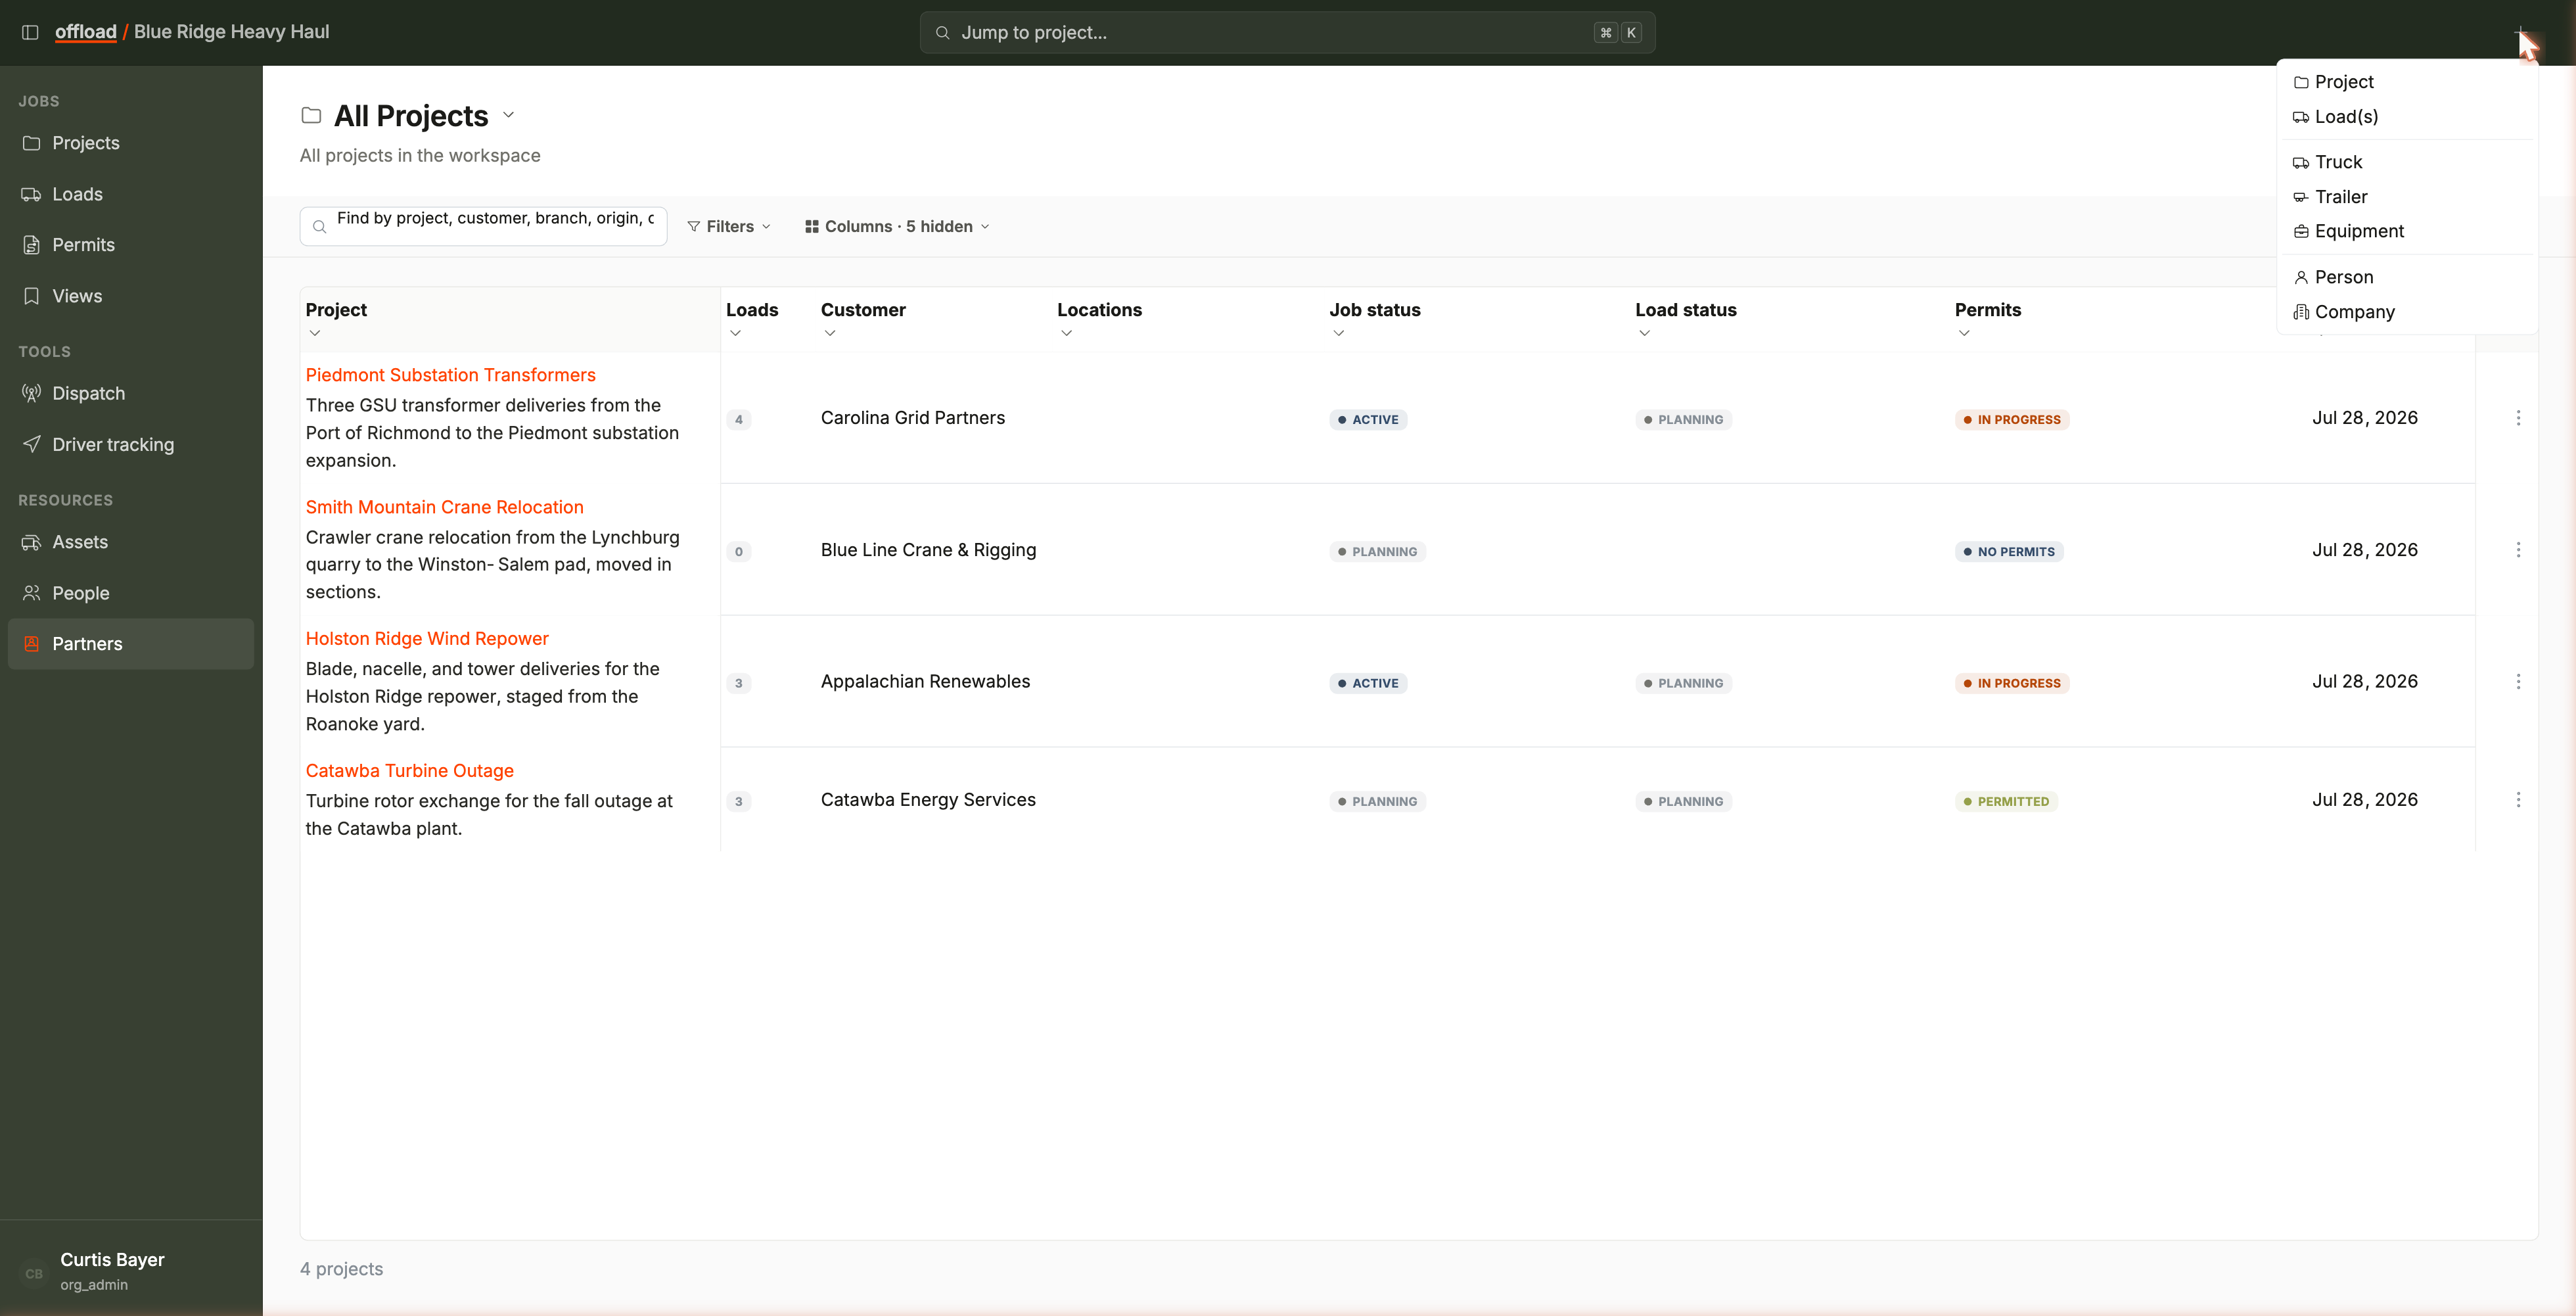
- The plus (+) button in the top navigation, then "Load(s)". Works from any page. (With the AI agent enabled you'll also see "Load with AI", which starts the same load in a guided chat.)
- The "New load" button on the Loads page.
- "Add loads" on a project page, which pins the drawer to that project.
- A date row on the dispatch board, which pre-fills the pickup and dropoff dates.
Pick or create the project
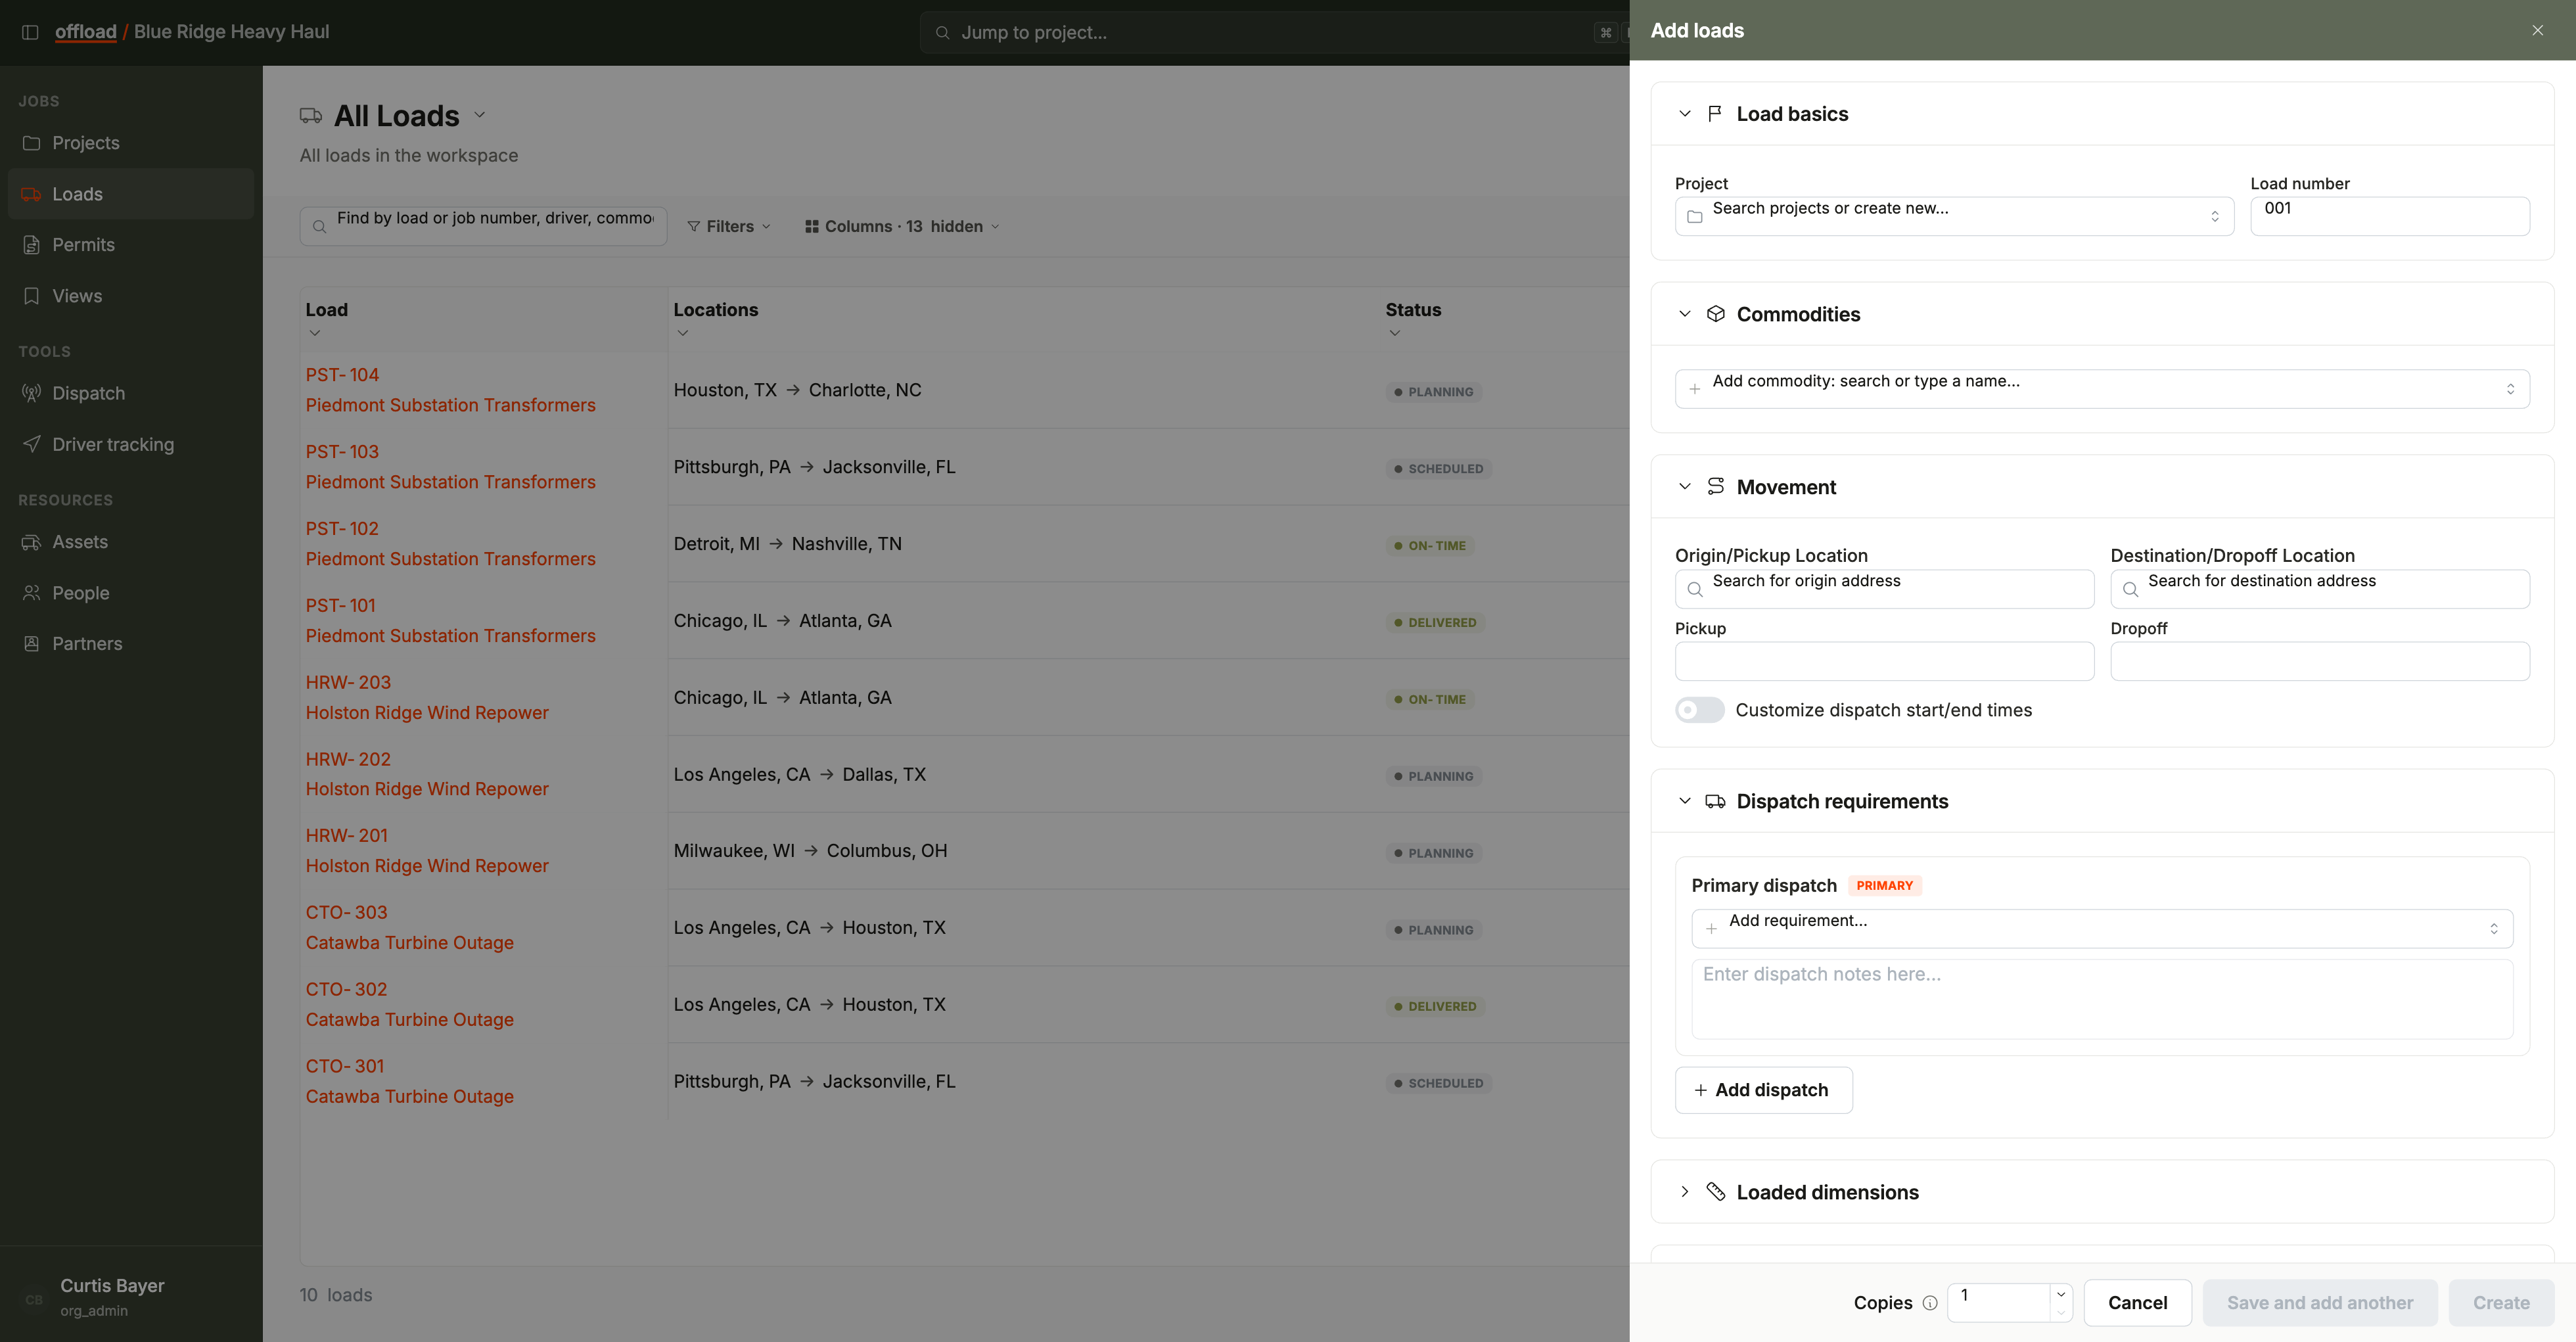
Every load belongs to a project, so the drawer's first card, Load basics, holds the project picker (plus the load number, covered below). Until a project is set, the Create buttons stay disabled; everything else can be filled in any order.
- Pick an existing project: search by job number and select. The load's location fields then offer that project's saved locations as quick picks.
- Create a new project: choose the pinned "Create new project" option at the top of the dropdown. An inline sub-form opens.
The inline project sub-form
- 1
Set the job number
If your organization has job numbering on, the "Project ID / Job number" field comes pre-filled with the next number ("Auto-generated from your organization's numbering pattern (type over it to override)"). Leave it to let Offload assign the number at save, or type your own. Without numbering, the job number is required and you enter it yourself. - 2
Set the customer (optional)
Search for an existing customer, or create a company inline. The create-company form takes the company name and type, contact fields, and an optional first point of contact in the same step. - 3
Add the rest (optional)
Branch, color, project manager, description, and default pickup and dropoff / job site locations. The default locations become quick picks for the project's loads. - 4
Click Create project
The project is created immediately and selected, and you're back in the load form.
Set the load number
The Load number field in Load basics is pre-filled with the next number in the project (001, 002, and so on). You can type over it; the field checks for duplicates as you type and flags "Another load in this project already uses this number."
You can change a load's number later from the load page menu ("Edit load number"). Imported loads keep the number from their source file and can't be renumbered.
Movement
The Movement card holds where and when:
- 1
Origin and destination
Type a street address, a city, or paste GPS coordinates inlat, longformat. - 2
Pickup and dropoff
Set the date and time for each. - 3
Customize dispatch times (optional)
Flip the "Customize dispatch start/end times" switch to set an explicit dispatch window different from pickup and dropoff. Leave it off and the dispatch window follows the pickup and dropoff dates.
You rarely have to type an address in full. Click into the origin or destination field and Offload offers quick picks grouped for scanning: the project's site work job sites, saved locations (the project's defaults, its branch, and the customer's saved spots), or a new address. When you enter a new one, you can save it to the customer so it's a quick pick next time.
Commodities
Describe what you're hauling in the Commodities card. One searchable field does everything ("Add commodity: search or type a name..."):
- Type a name and create it as a new custom commodity, then fill in dimensions, weight, make, model, and serial number.
- Pick an asset type from your fleet's resource types when you're hauling your own equipment.
- Reuse from past loads: recent commodities appear in the dropdown, pre-filled and editable.
Dispatch requirements
The Dispatch requirements card sets what's needed to move the load. The first row is the Primary dispatch; it can't be removed.
- Use the "Add requirement..." field to add typed requirements with quantities: drivers and crew, trucks, trailers, and equipment.
- Add per-dispatch notes for the driver or dispatch team.
- Organizations with dispatch enabled can click "Add dispatch" for additional setups (for example, a second truck-and-trailer configuration on the same load).
Loaded dimensions and notes
Two collapsed cards finish the form:
- Loaded dimensions: overall length, width, height (in
ft'in"format), weight in pounds, overhang front and rear, and ground clearance. - Load notes: free-form rich text notes on the load.
Create
The footer has three actions:
- Create makes the load and closes the drawer.
- Save and add another makes the load and keeps the drawer open with the project kept and the next load number ready. Use it to enter a series quickly.
- Copies (the number field in the footer) creates several loads at once. The first uses the number you typed; the rest are numbered automatically (002, 003, and so on).
Closing a partly-filled drawer asks "Discard this load?" so you don't lose work by accident.
To start from an existing load instead of a blank form, open that load and use "Copy load" from its page menu.